How to Make a Straw Hat

In my last post I showed you the fabric for a Frisian hat I made using the block printing technique. Today I’m turning this piece of fabric into an actual hat. This kind of hat is quite particular, due to the bonnets the ladies in Friesland used to wear during the 18th century. But the technique shown here can also be used for any other kind of straw hat you want to make.
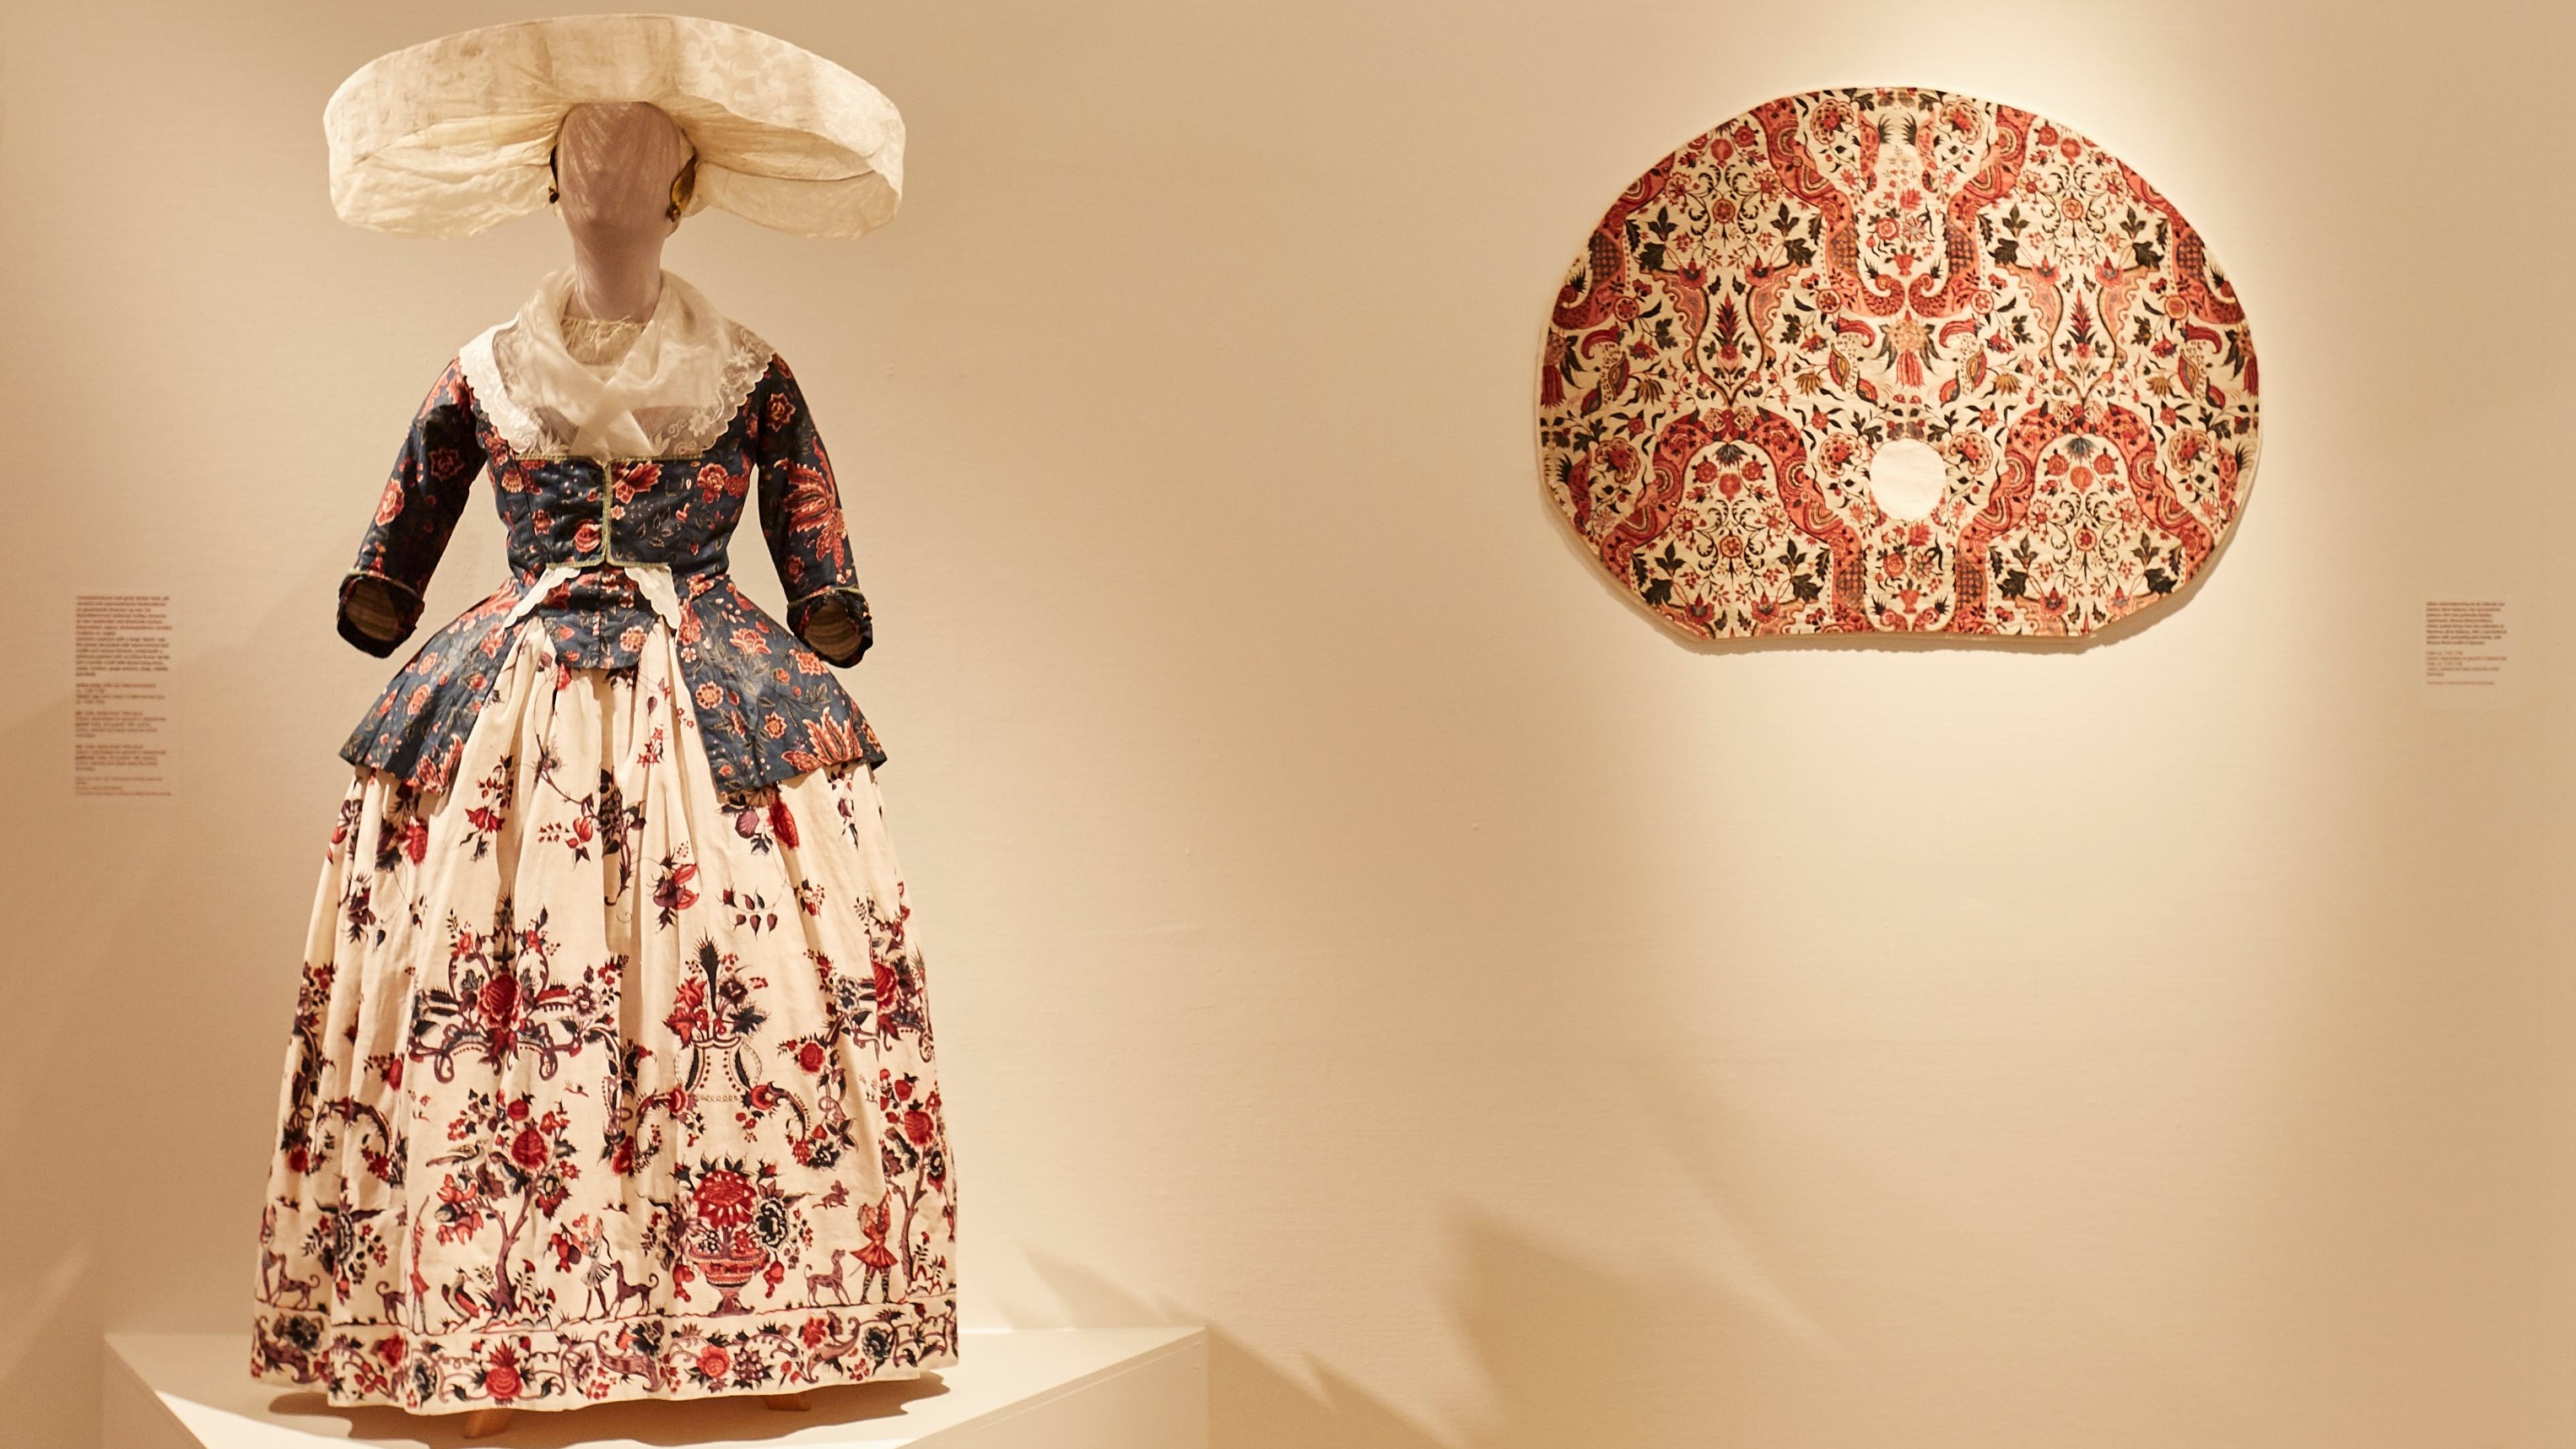
The above picture is from the exhibition; Chintz, cotton in bloom, at the Fries Museum. On the left you see an outfit of a Frisian woman in the 18th century. The enormous white bonnet she is wearing is called a “Duitse muts”, This was a very delicate bonnet made of lace, which was heavily starched. To protect these bonnets, the ladies in Friesland used to wear these large straw sunhats, which you can see on the right, when going outside. Because this is such an interesting and unique item, I chose to recreate it. But straw hats in general were quite popular in other countries and other times. So you could use this technique to make smaller flat straw hats for the same century, or bonnets for the romantic period.
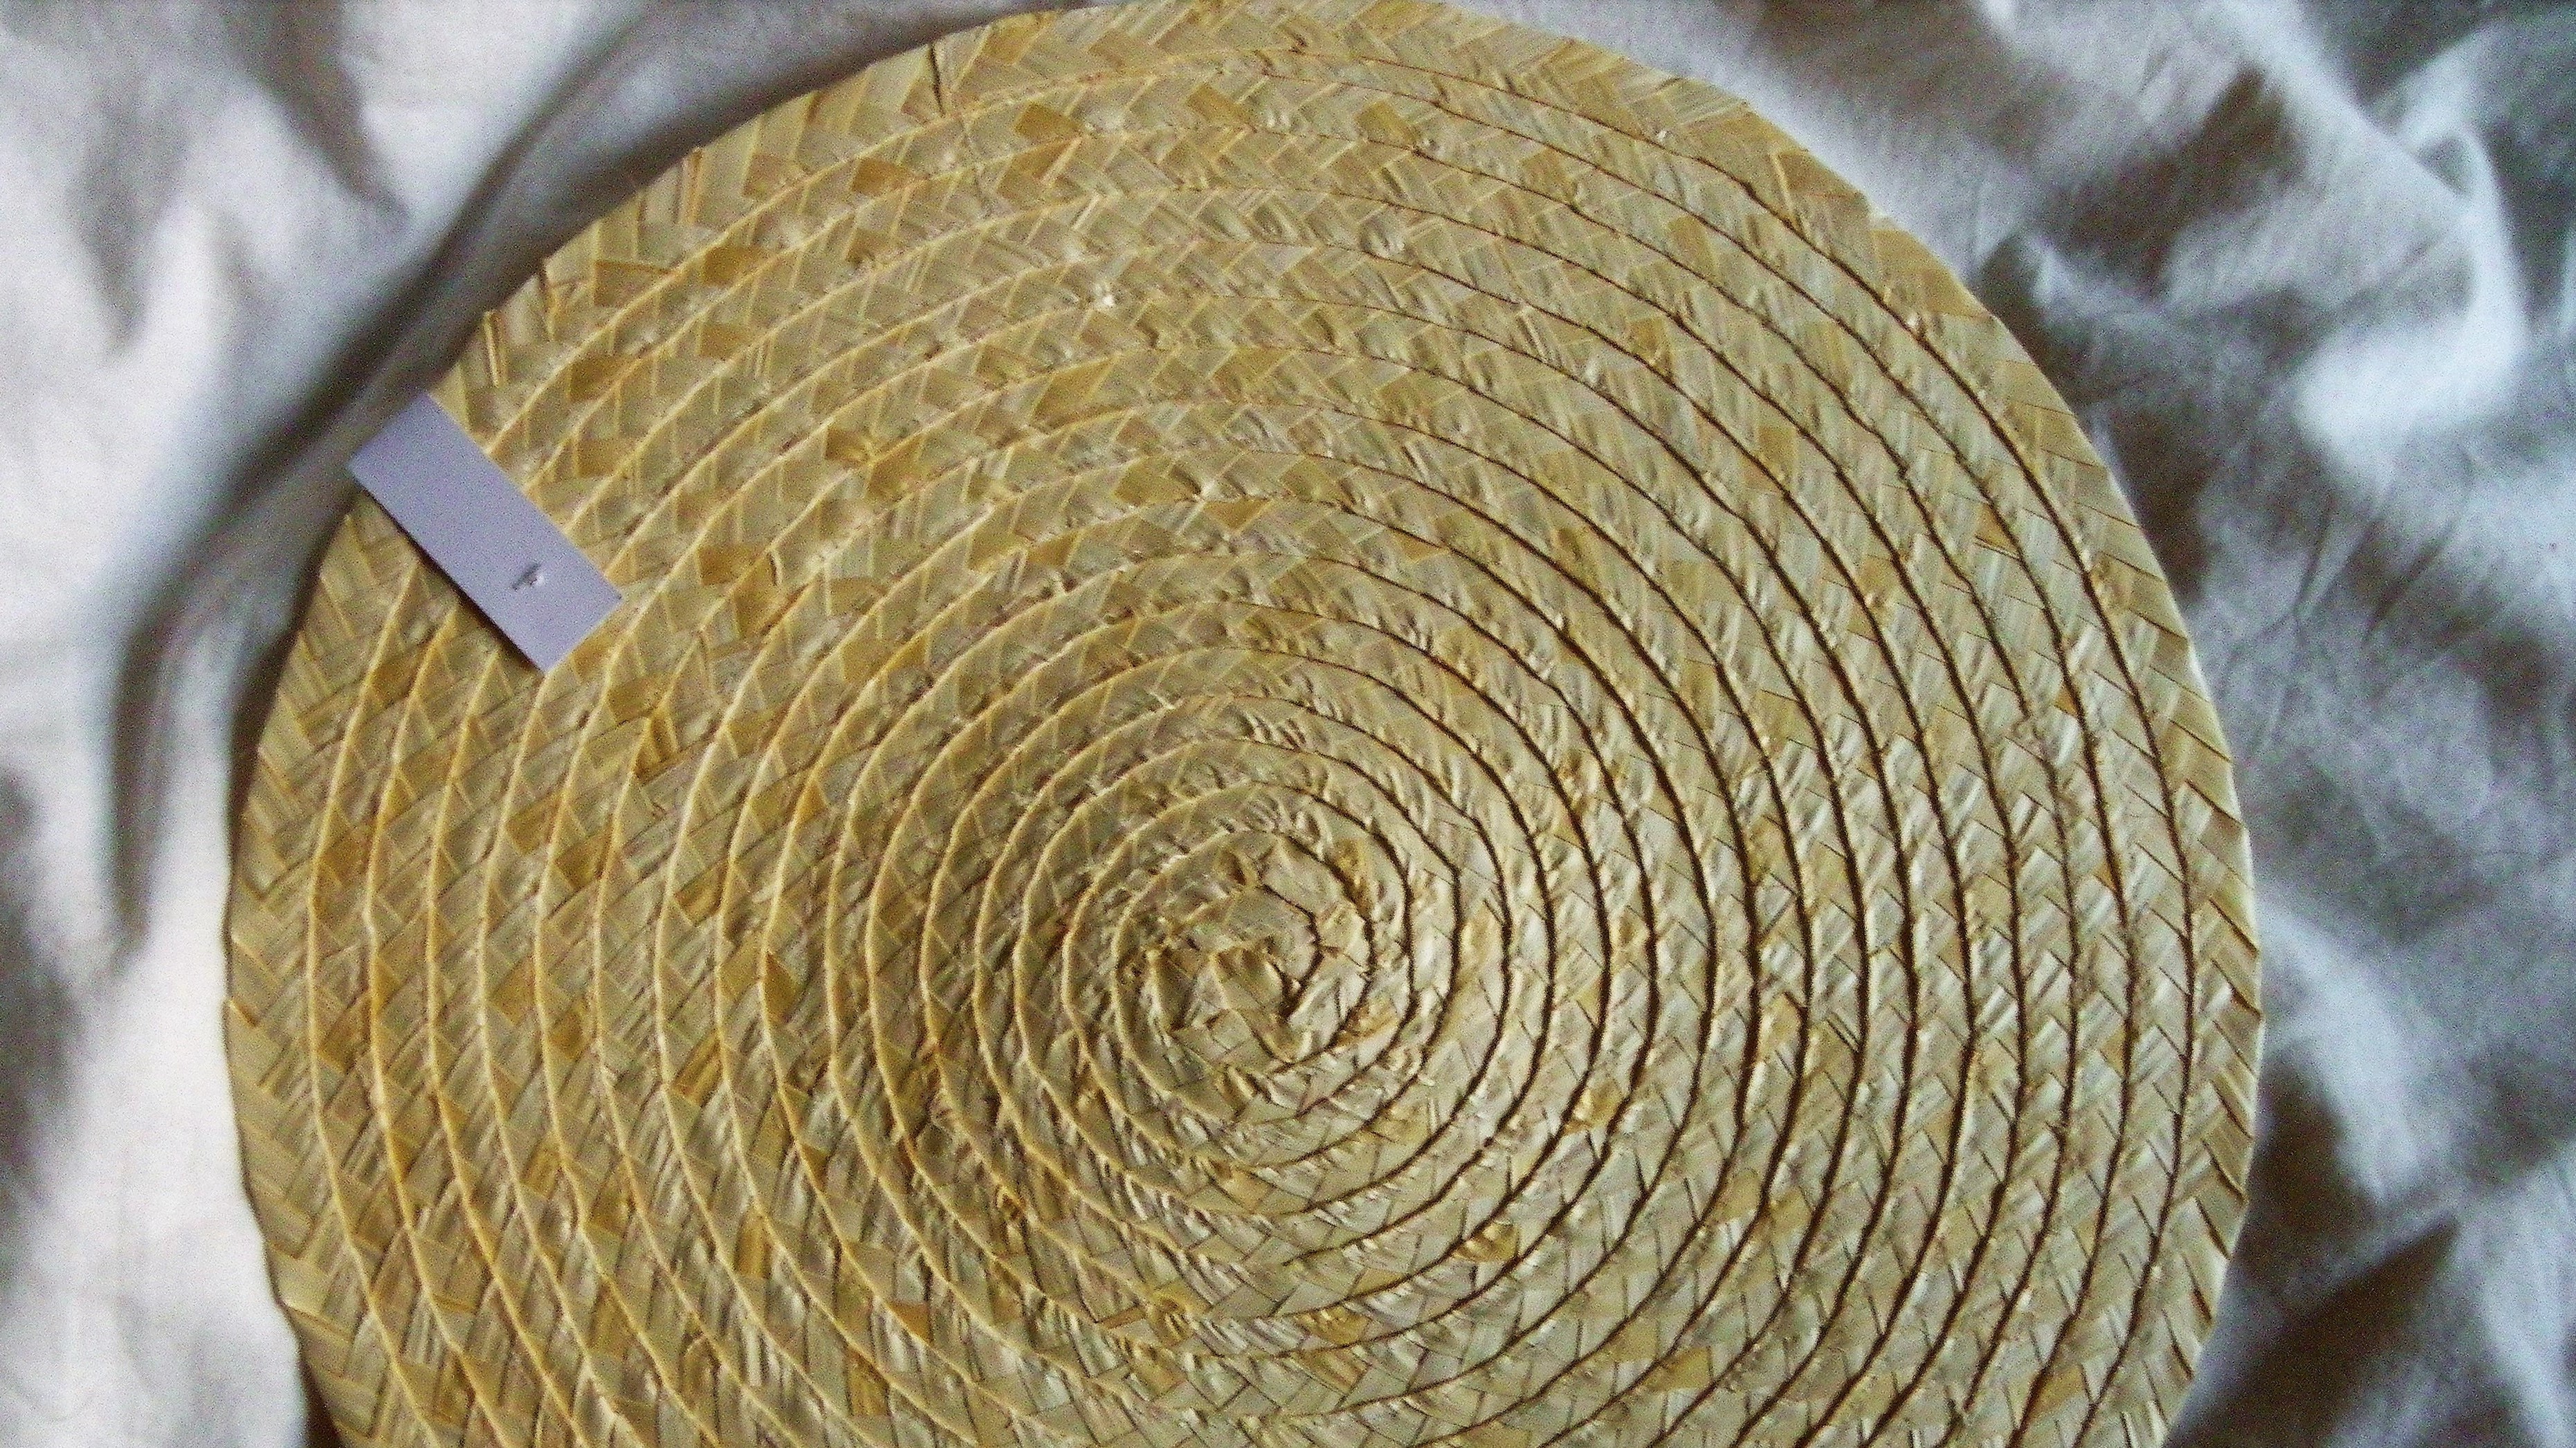
The first step is to find your materials. If you are making a smaller hat, you could use a

Because to make the hat in the shape that you want, you have to seam rip all the stitching out. That way you are left with long strands of braided straw, which you can form in the desired shape. This is the most tedious part. I like to do this while watching tv. I ended up using four placemats.
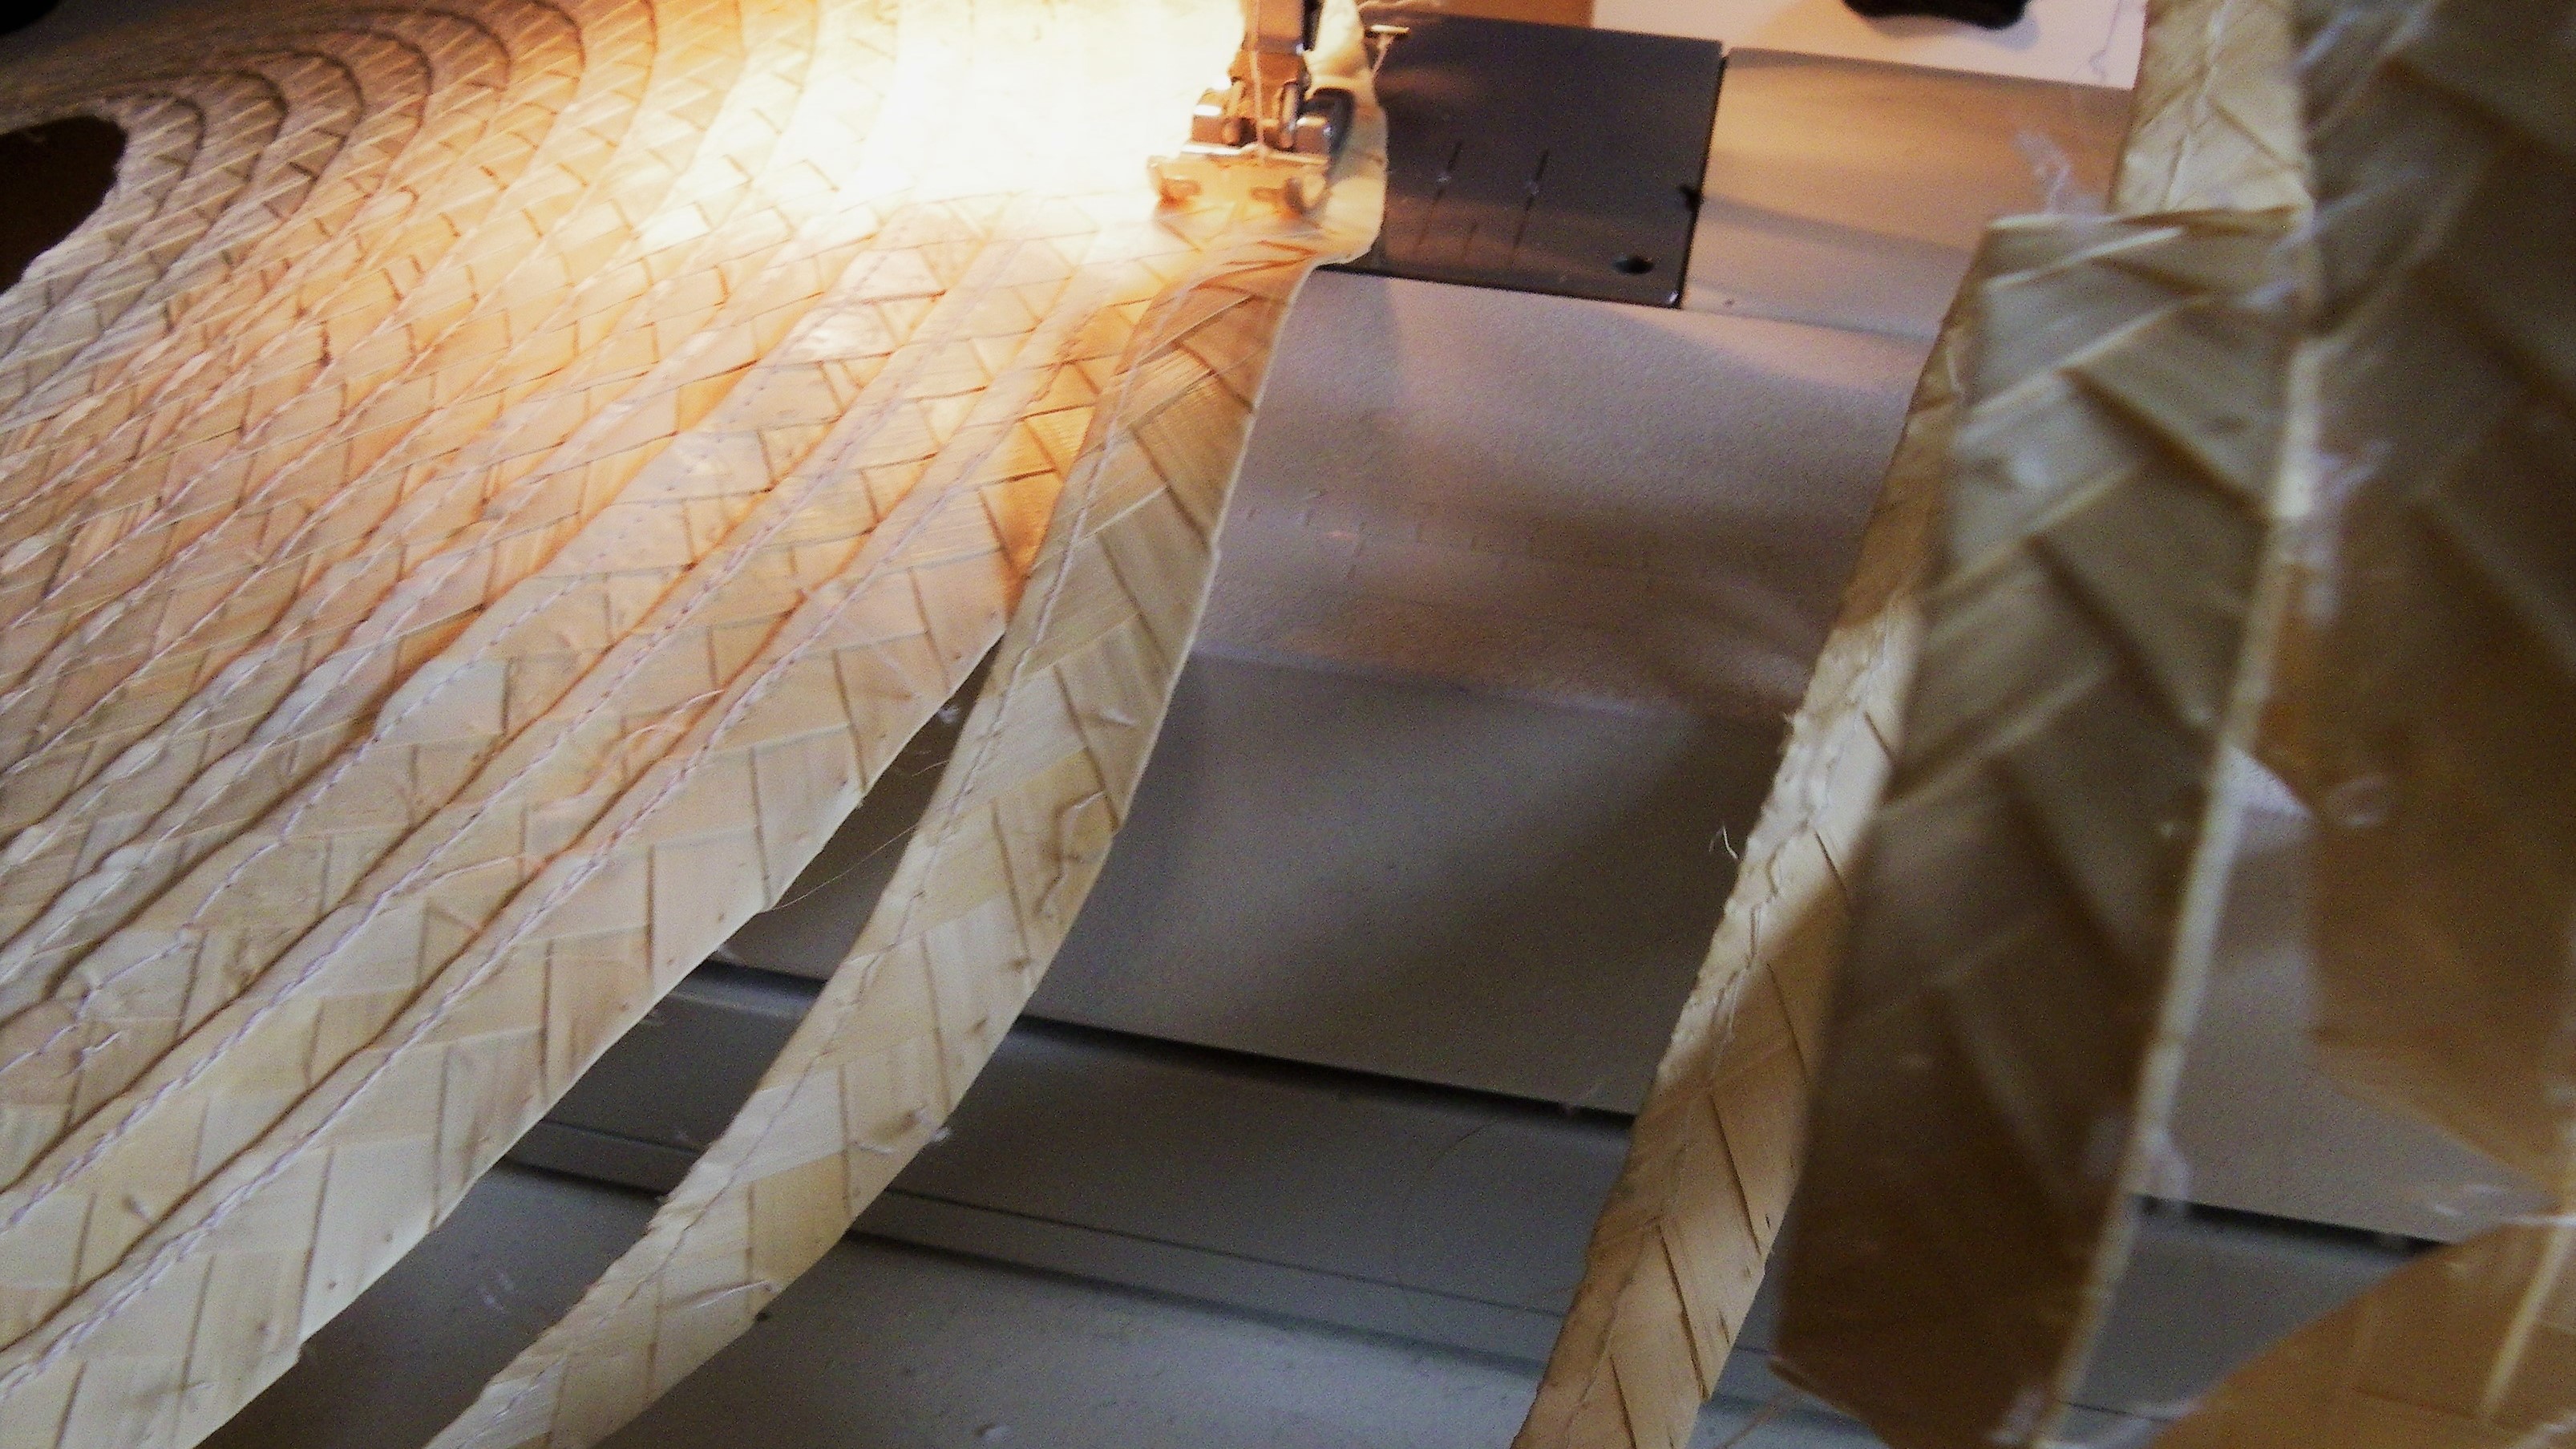
The nice thing about these braided strands of straw is that they can be sewn with a regular sewing machine. Just make sure you change your needle after you’re done with this
It is also possible that after this step your hat pieces don’t want to lie flat. If you have this problem, wet the hat with hot water, and lay it between two towels with some heavy objects on top, and let it dry overnight. The pieces should lay completely flat when you get back to them in the morning.
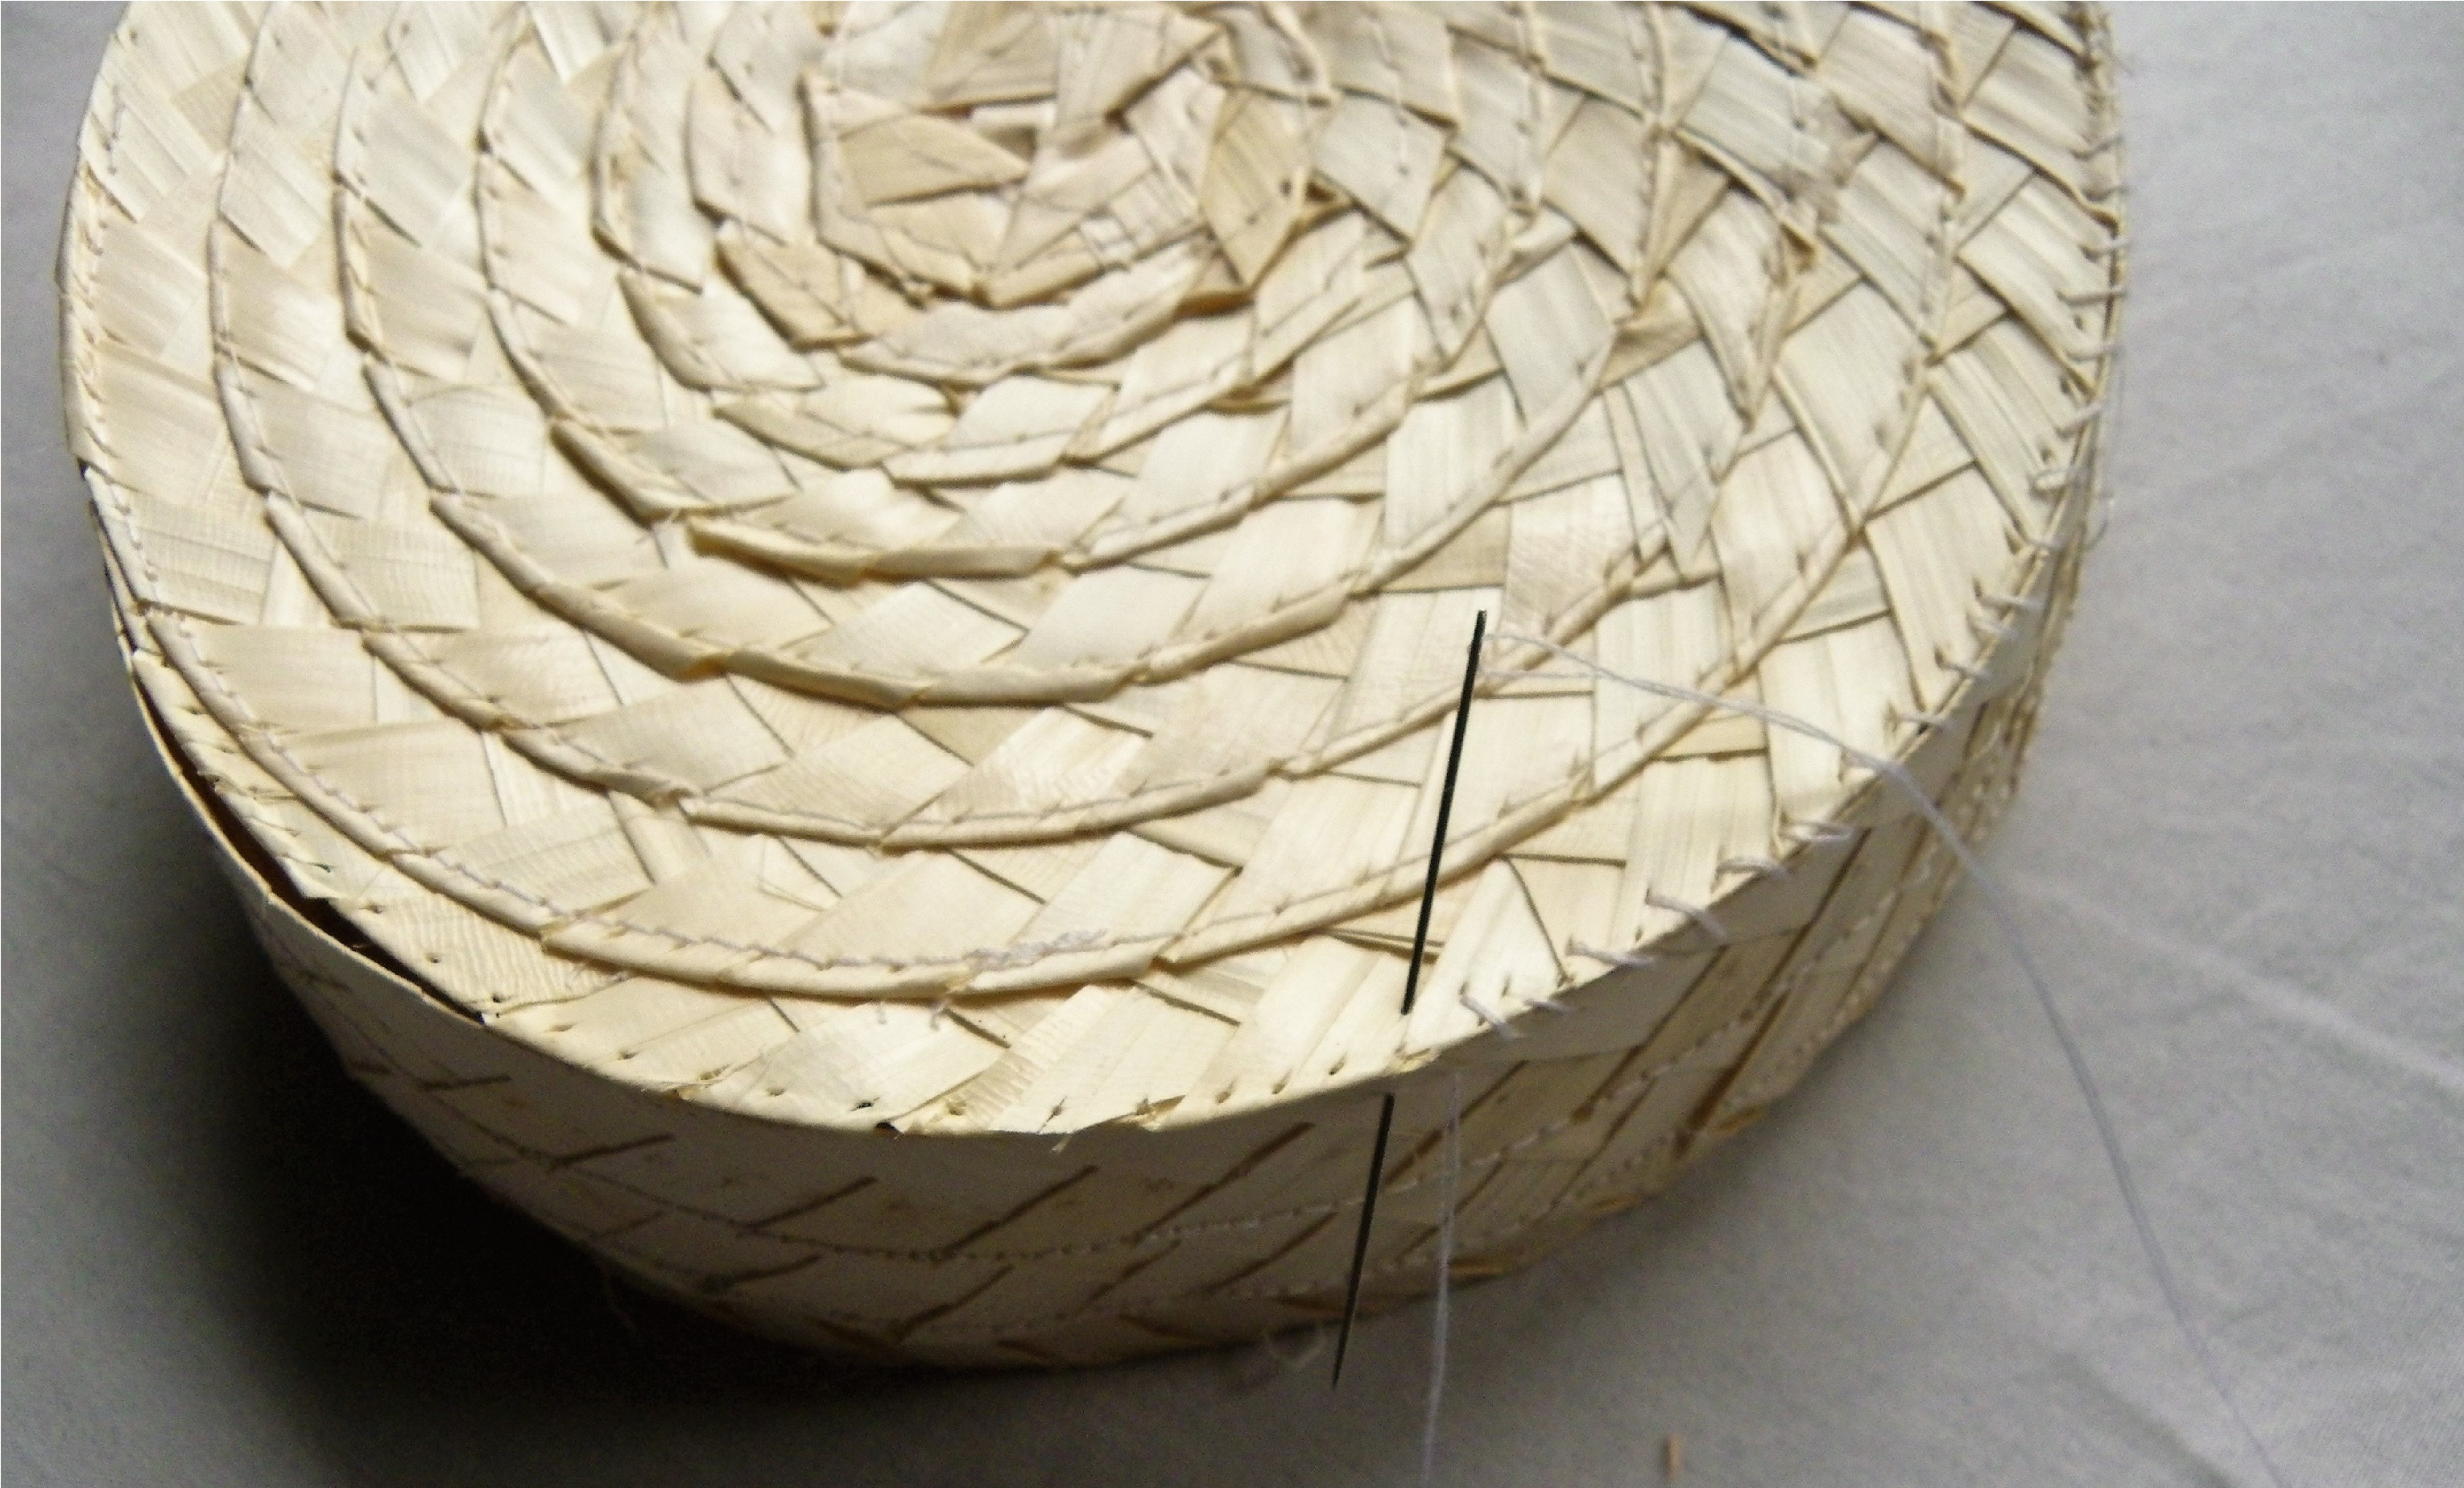
When you have your flat pieces done, you can start assembling the hat. This has to be done by hand, because now the pieces don’t fit under the sewing machine anymore. I used a whip stitch to sew the pieces together. My advice would be to use a thimble to push the needle trough, because otherwise you will have very sore fingers by the end of it.
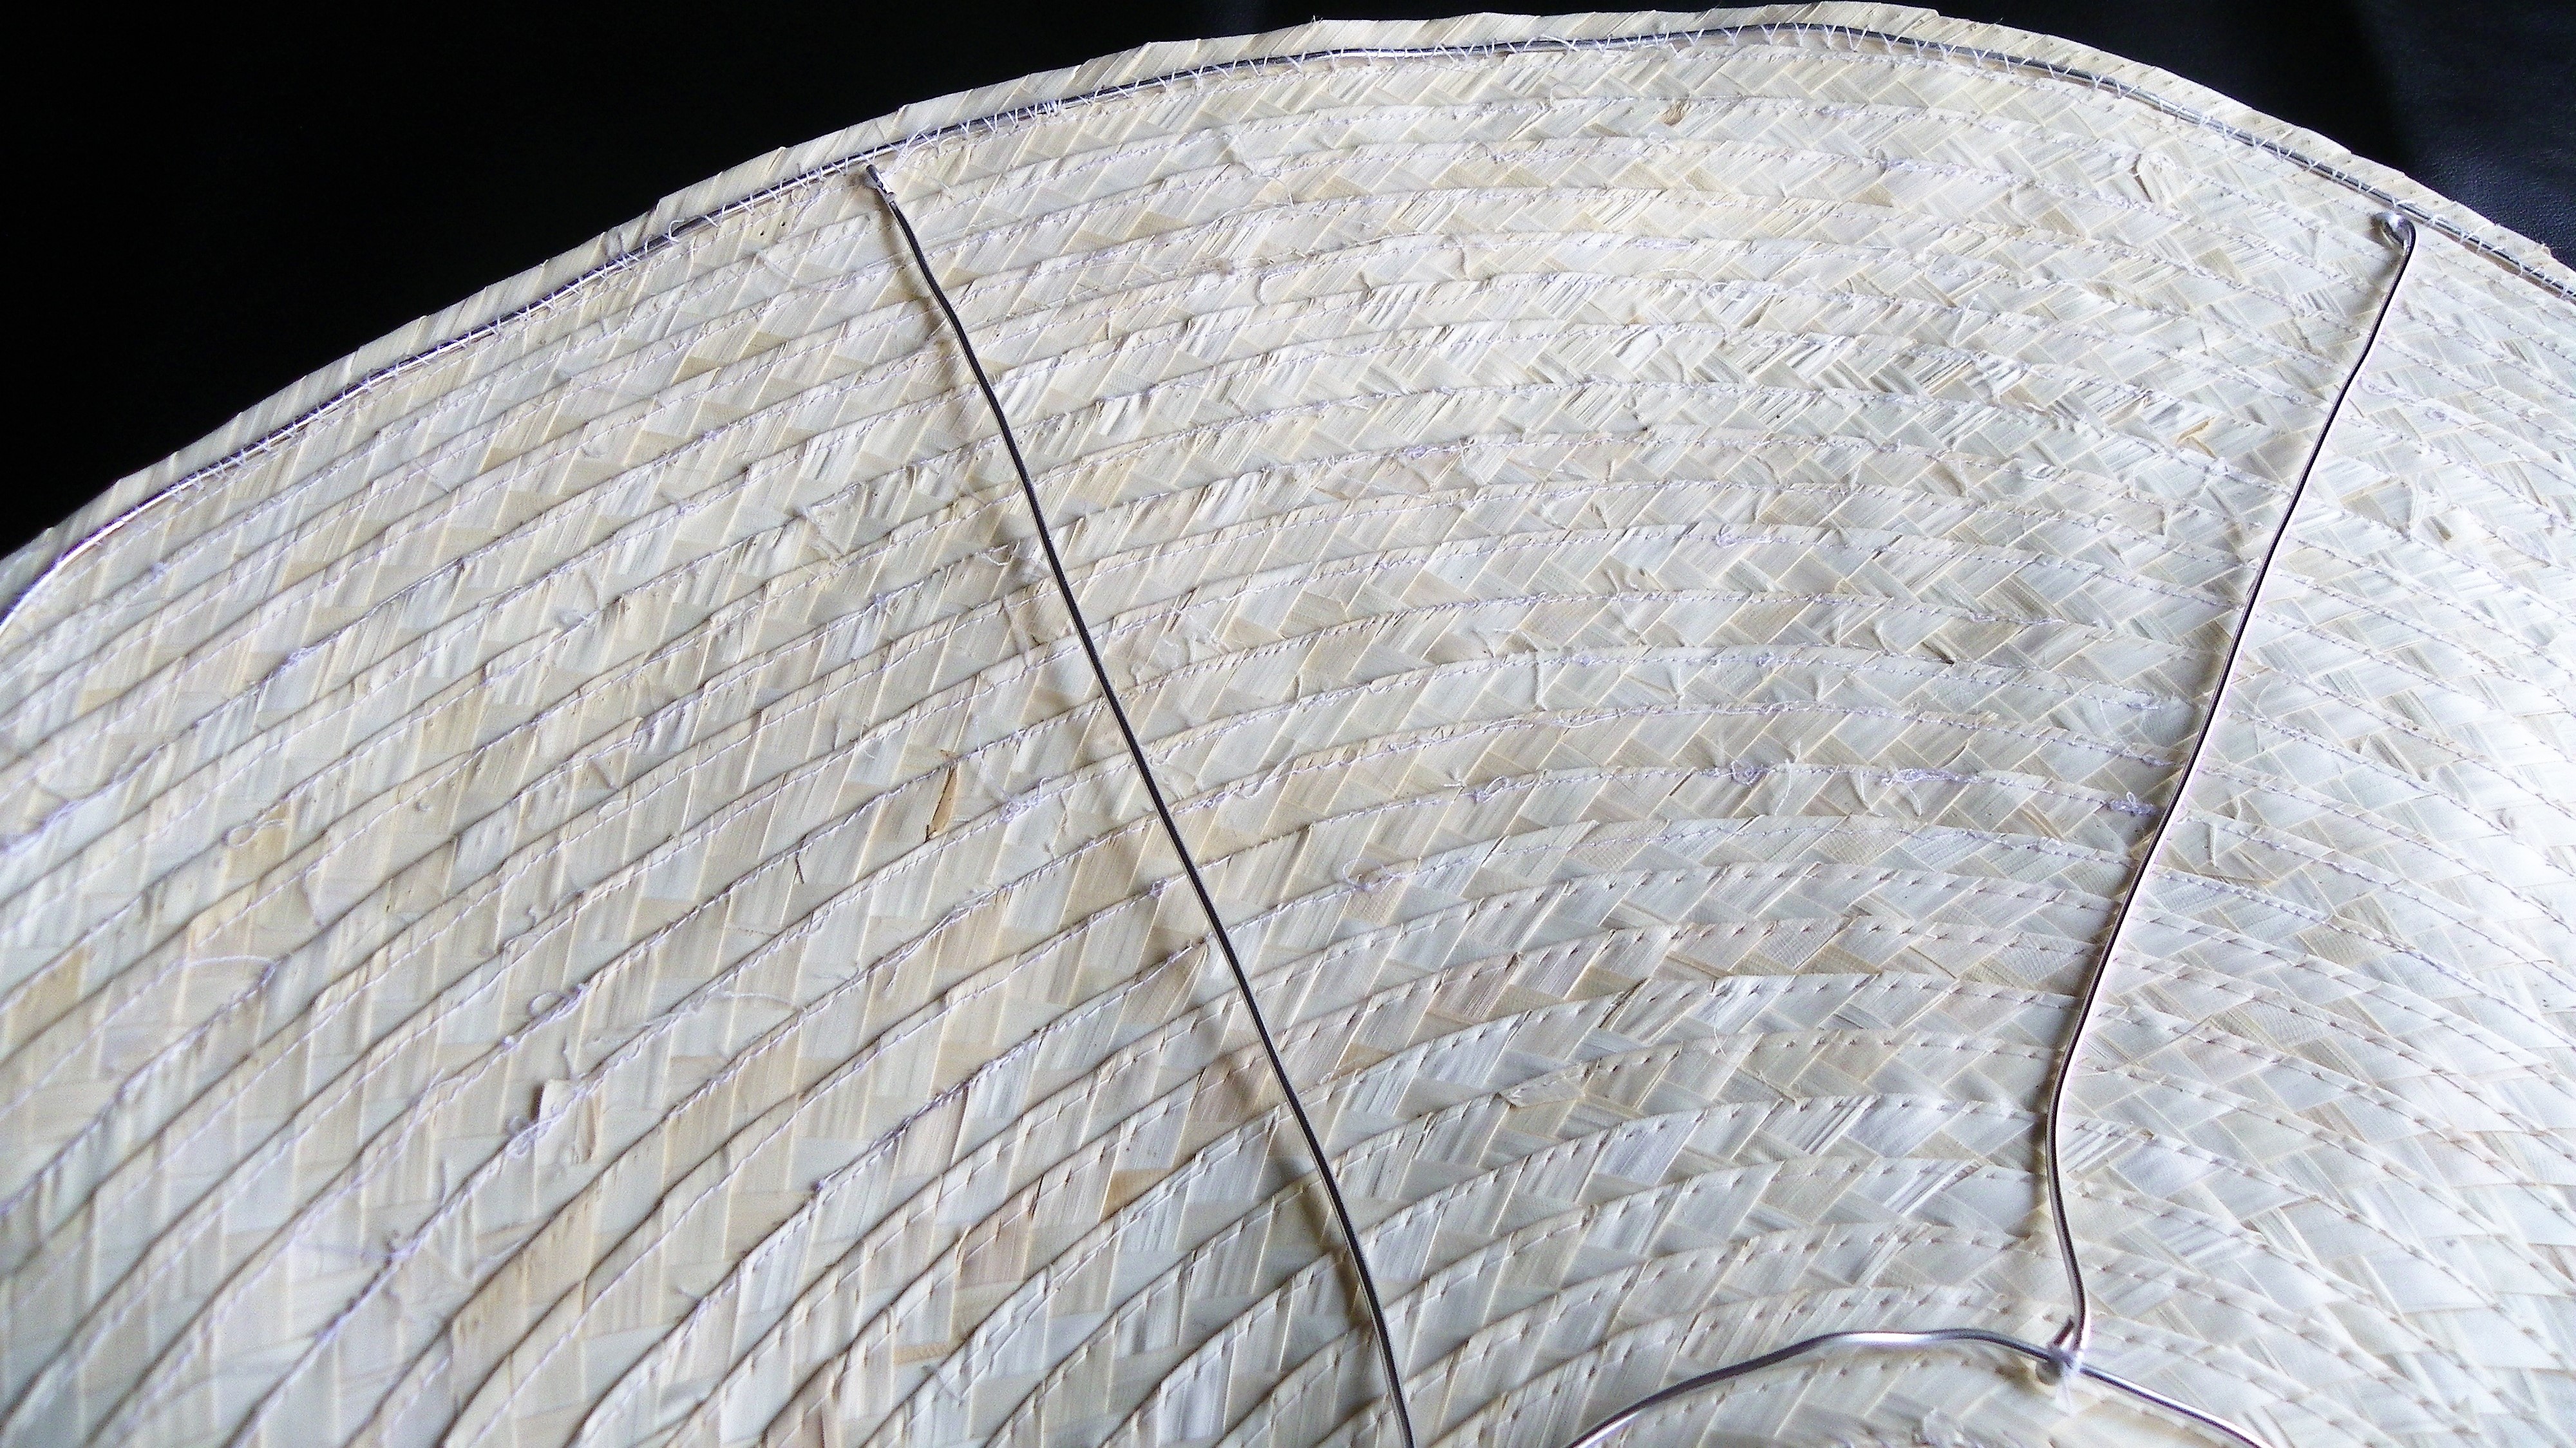
If you have a larger hat like mine, you might also need to insert a wire frame at this point to support the weight of the hat. If your hat will be (partially) covered by lining, you can insert the wire with a wide
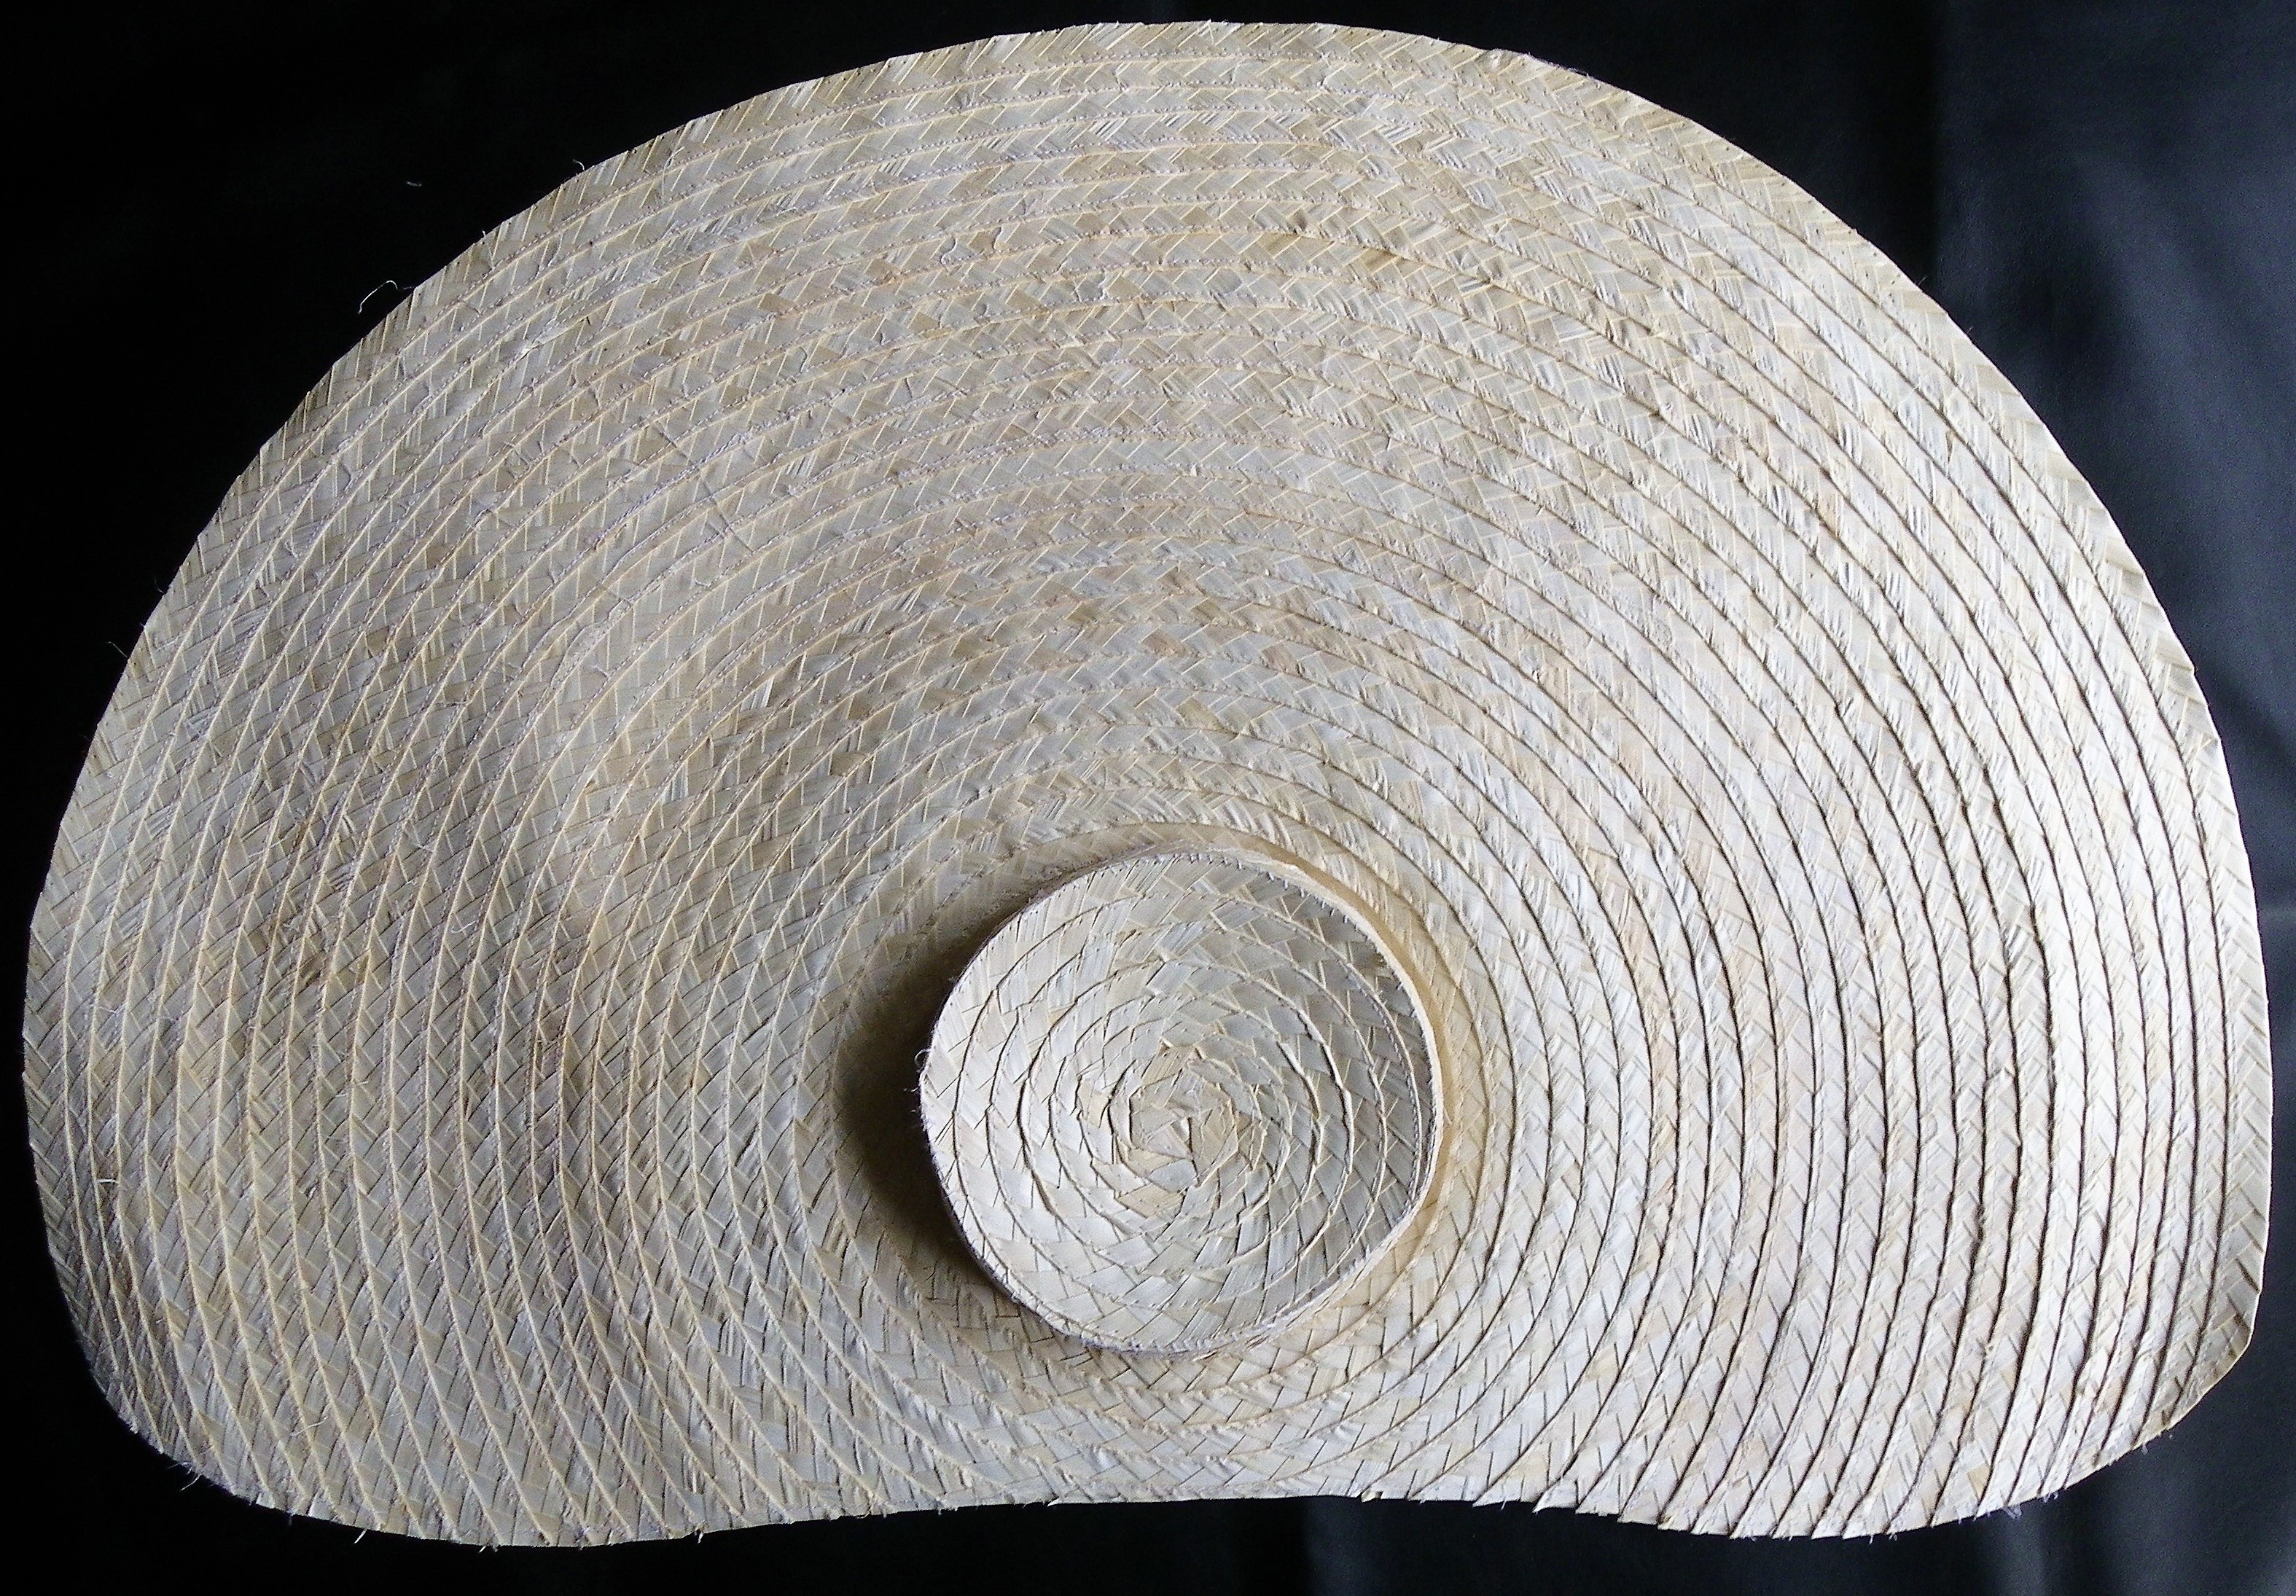
And this is the result. A large flat straw hat. Lik I said in the beginning, this type of hat is quite unique. It was only worn in the province of Friesland in the Netherlands during the eighteenth century. So I can imagine not a lot of people would want to create this specific hat. But using this method you can make any kind of hat you like, as long as you can construct it from several small pieces.
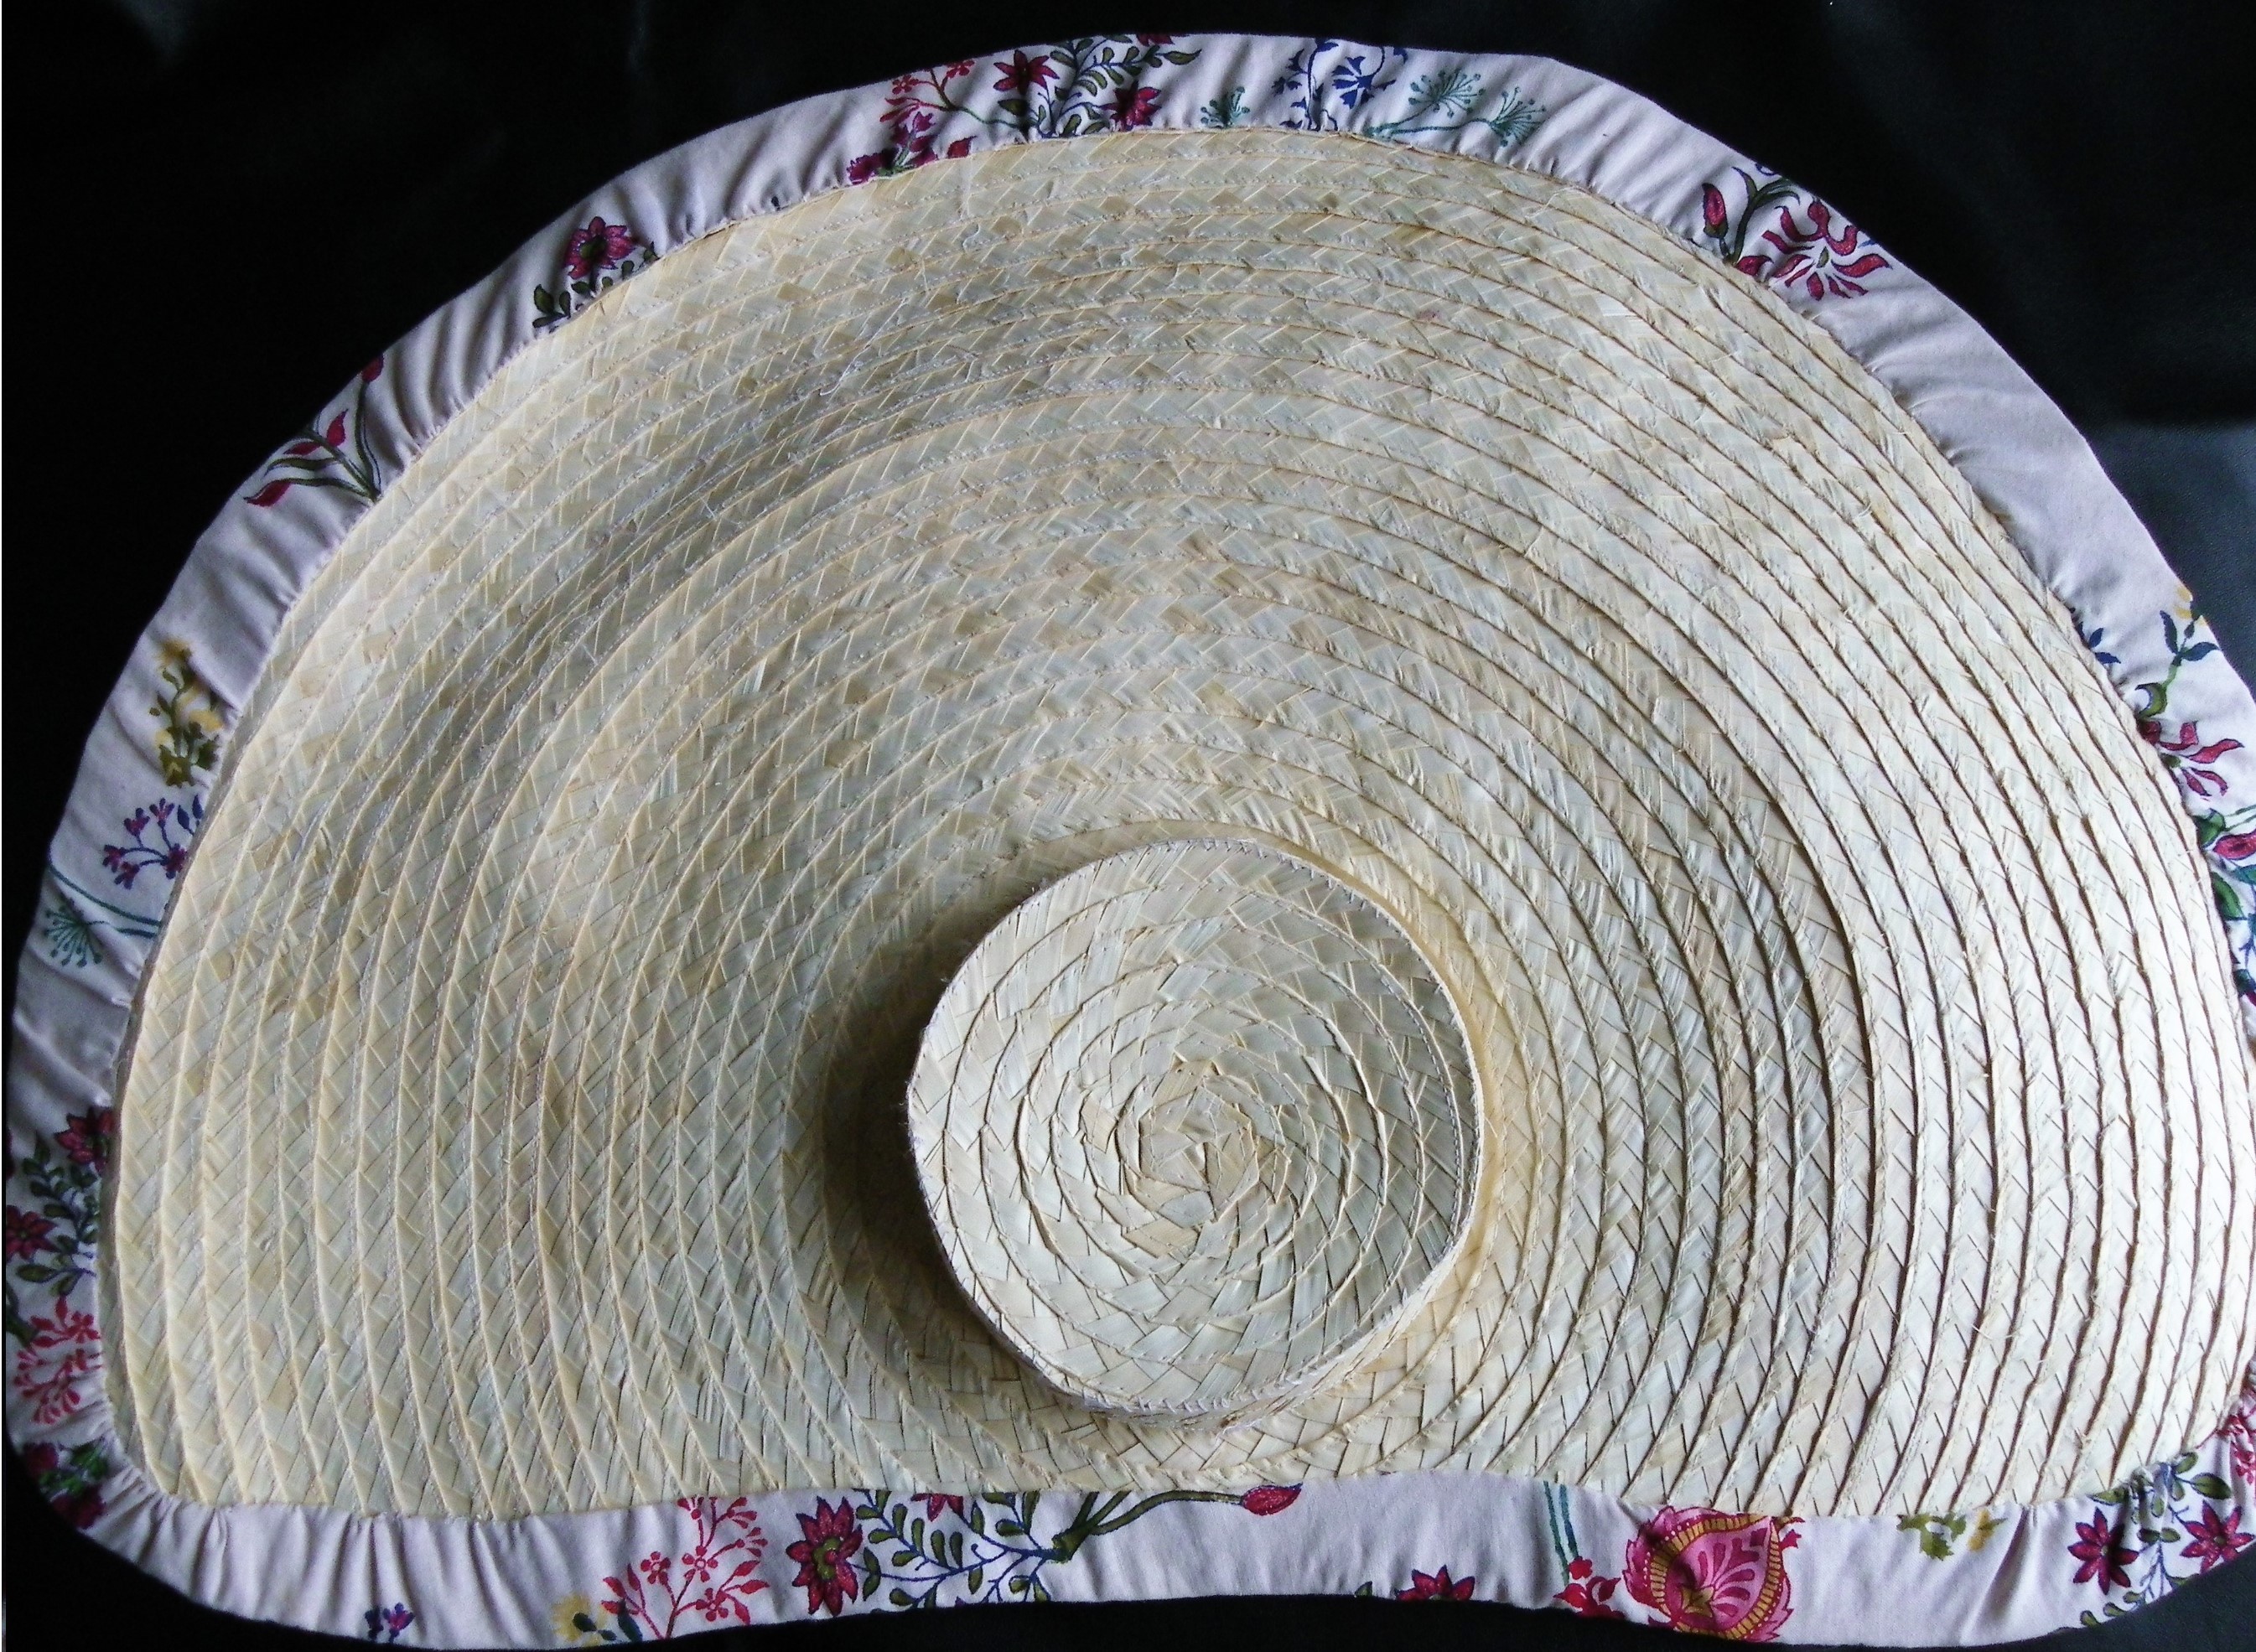
The final step is to attach the lining to the hat. This was a must to protect the large bonnets from snagging on the straw. But even if you are not wearing a bonnet under your hat, adding a lining does make the hat more comfortable to wear. And, If you added a wire frame to give your hat some structure, the lining also hides that. I attached the lining by hand with small stitches, both on the outer rim of the hat, and on the crown of the hat.
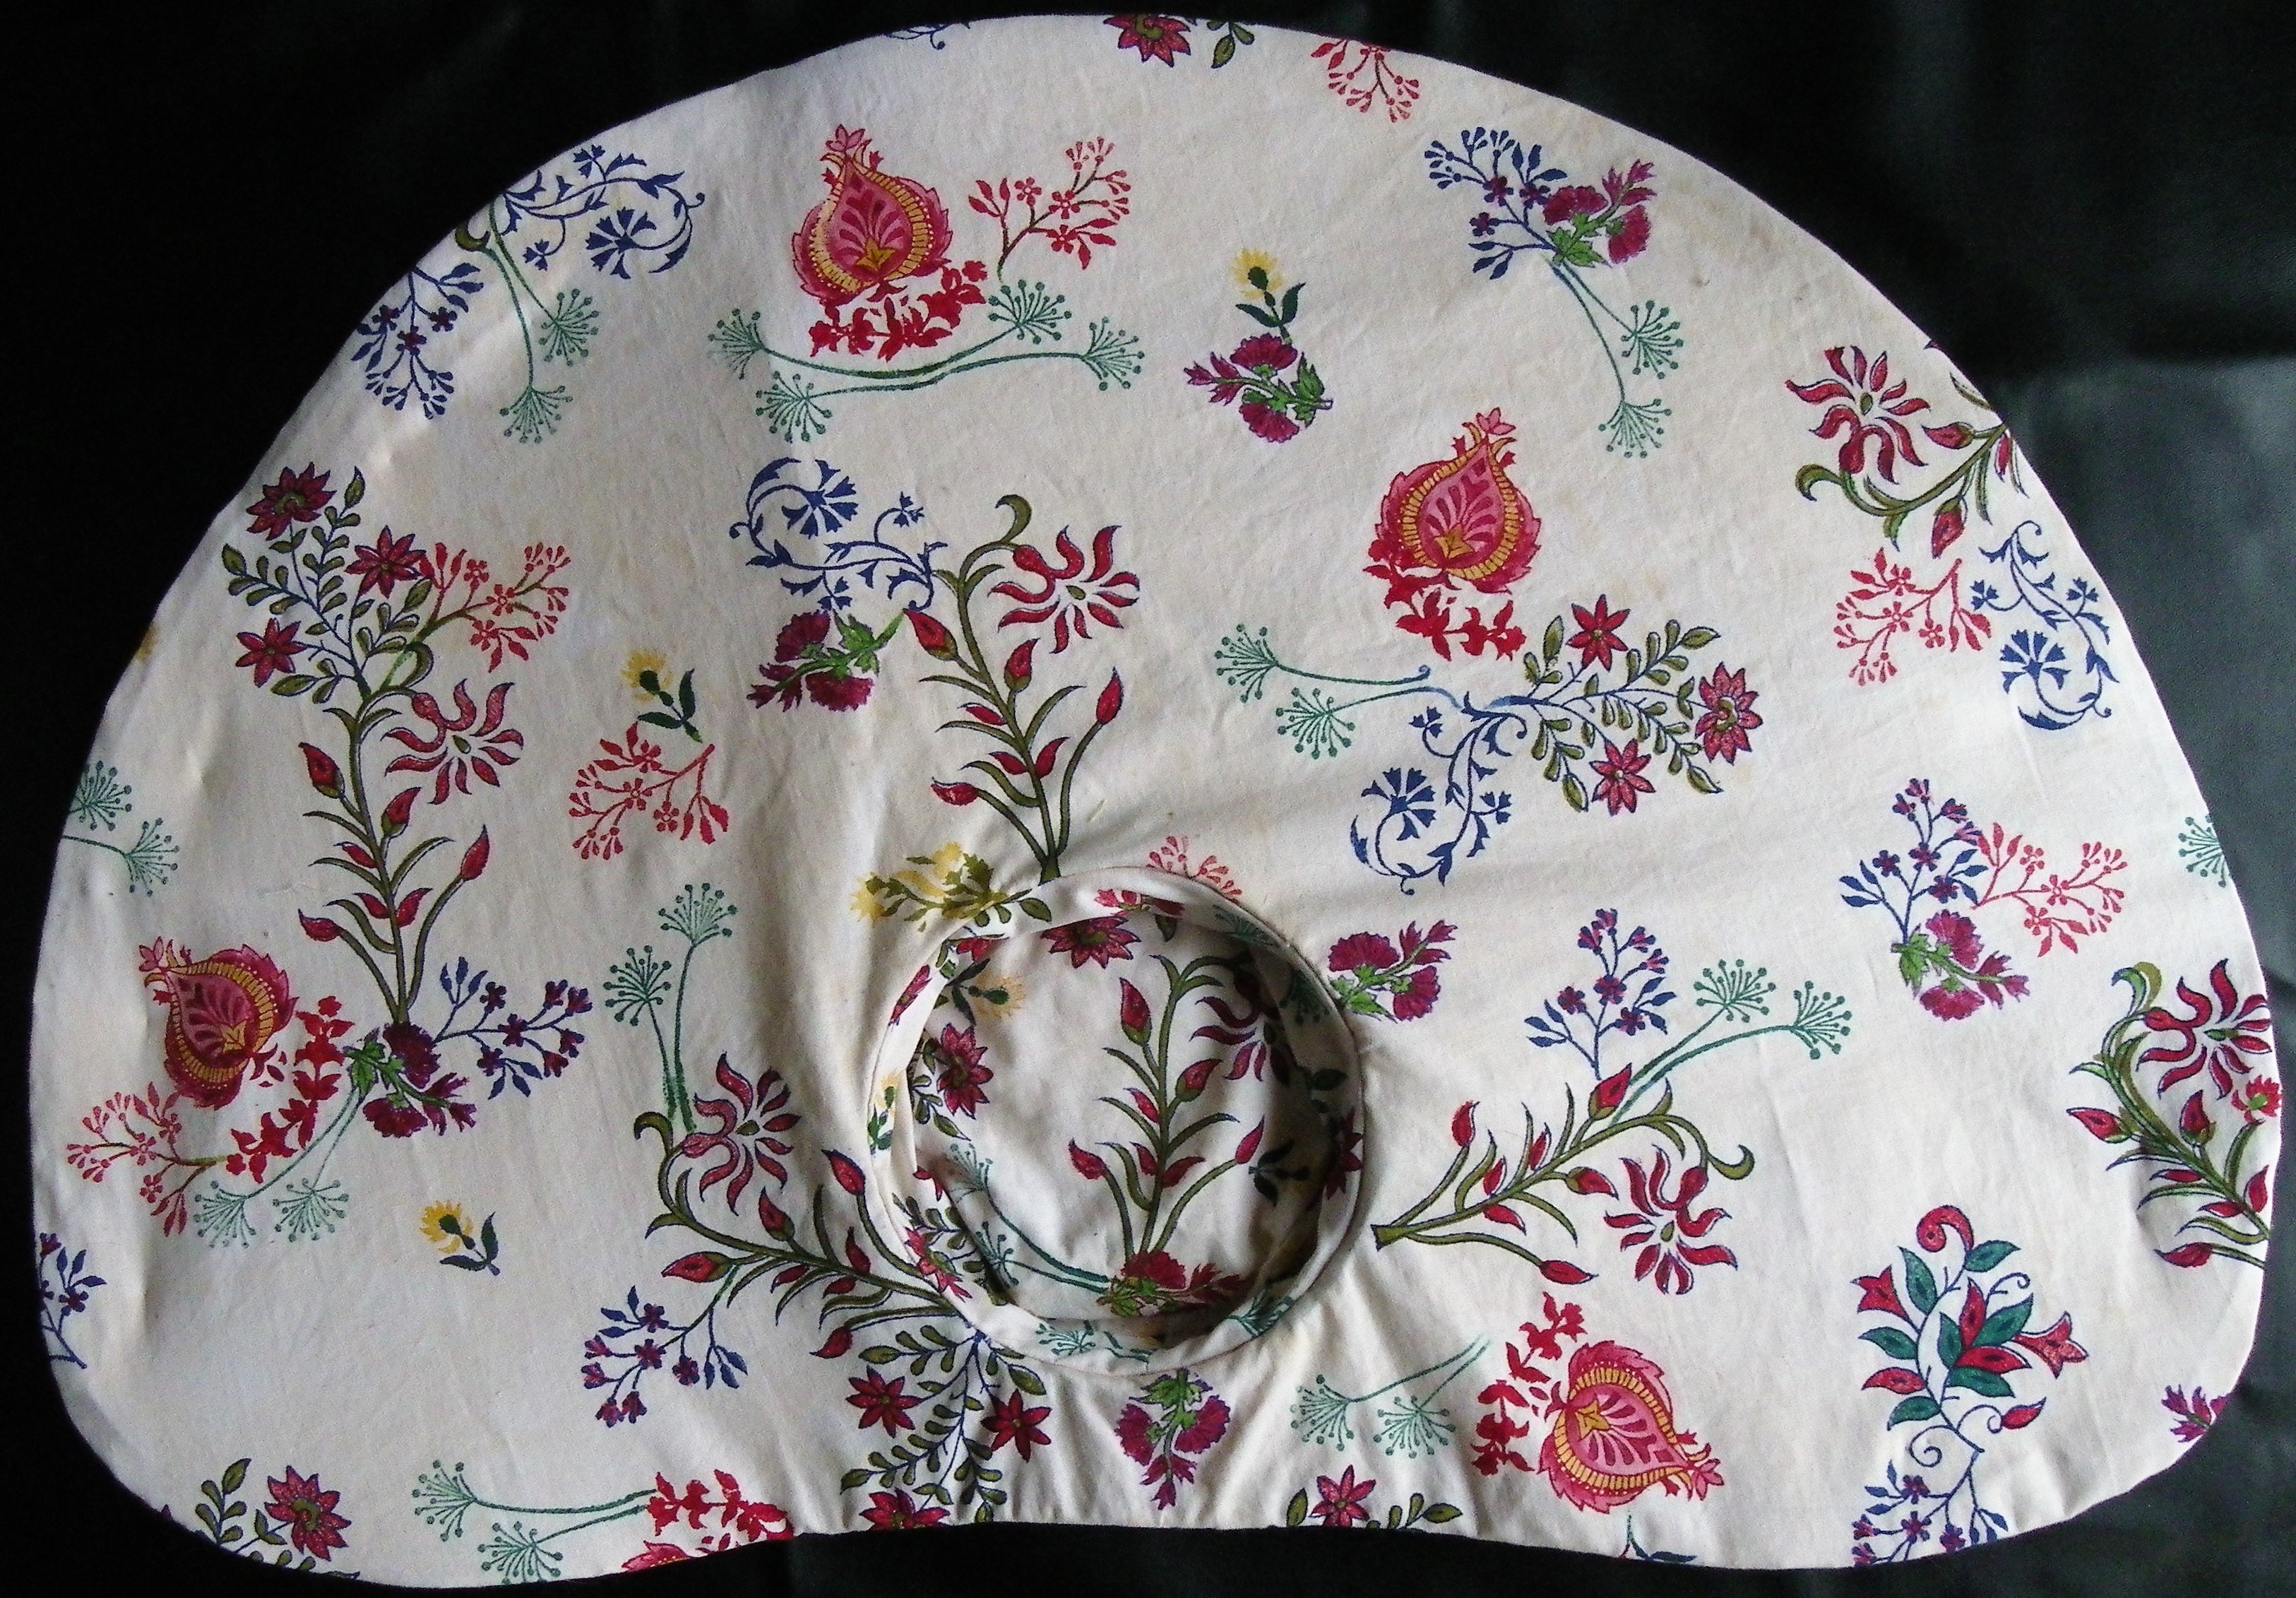
The end result is this large hat that displays the printed fabric nicely. To wear it, some ribbons have to be attached to the sides, to keep the hat from flying off in the wind, But it also just makes a beautiful object as is. And if you make a straw hat using this method, please share a picture with me in the comments or on social media.
