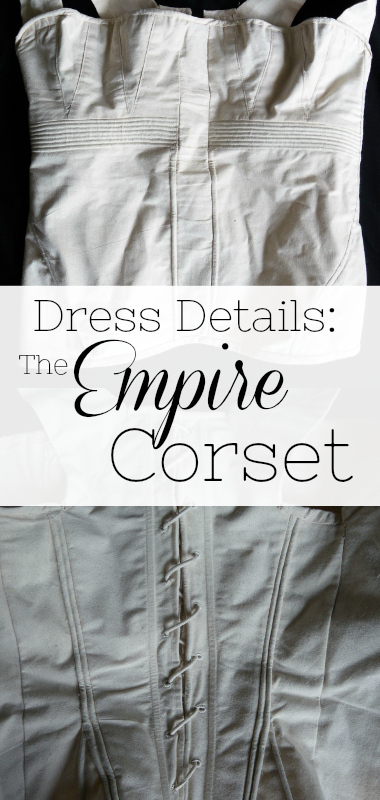
Dress Details: The Empire Corset

As you could read in my last blog post, navigating the styles of corsets in empire fashion is not as straightforward as it seems. I concluded that research by saying: “a lot was possible in corsetry in this period. People just adapted their corset to what they needed for their body. And that’s the beauty of clothing: it’s all up to personal preference.” And that is exactly what I did with my corset. I chose a full length style which would lift my bosom, give me a longer figure, and decrease the emphasis on my waist, to give me that fashionable long empire style figure.
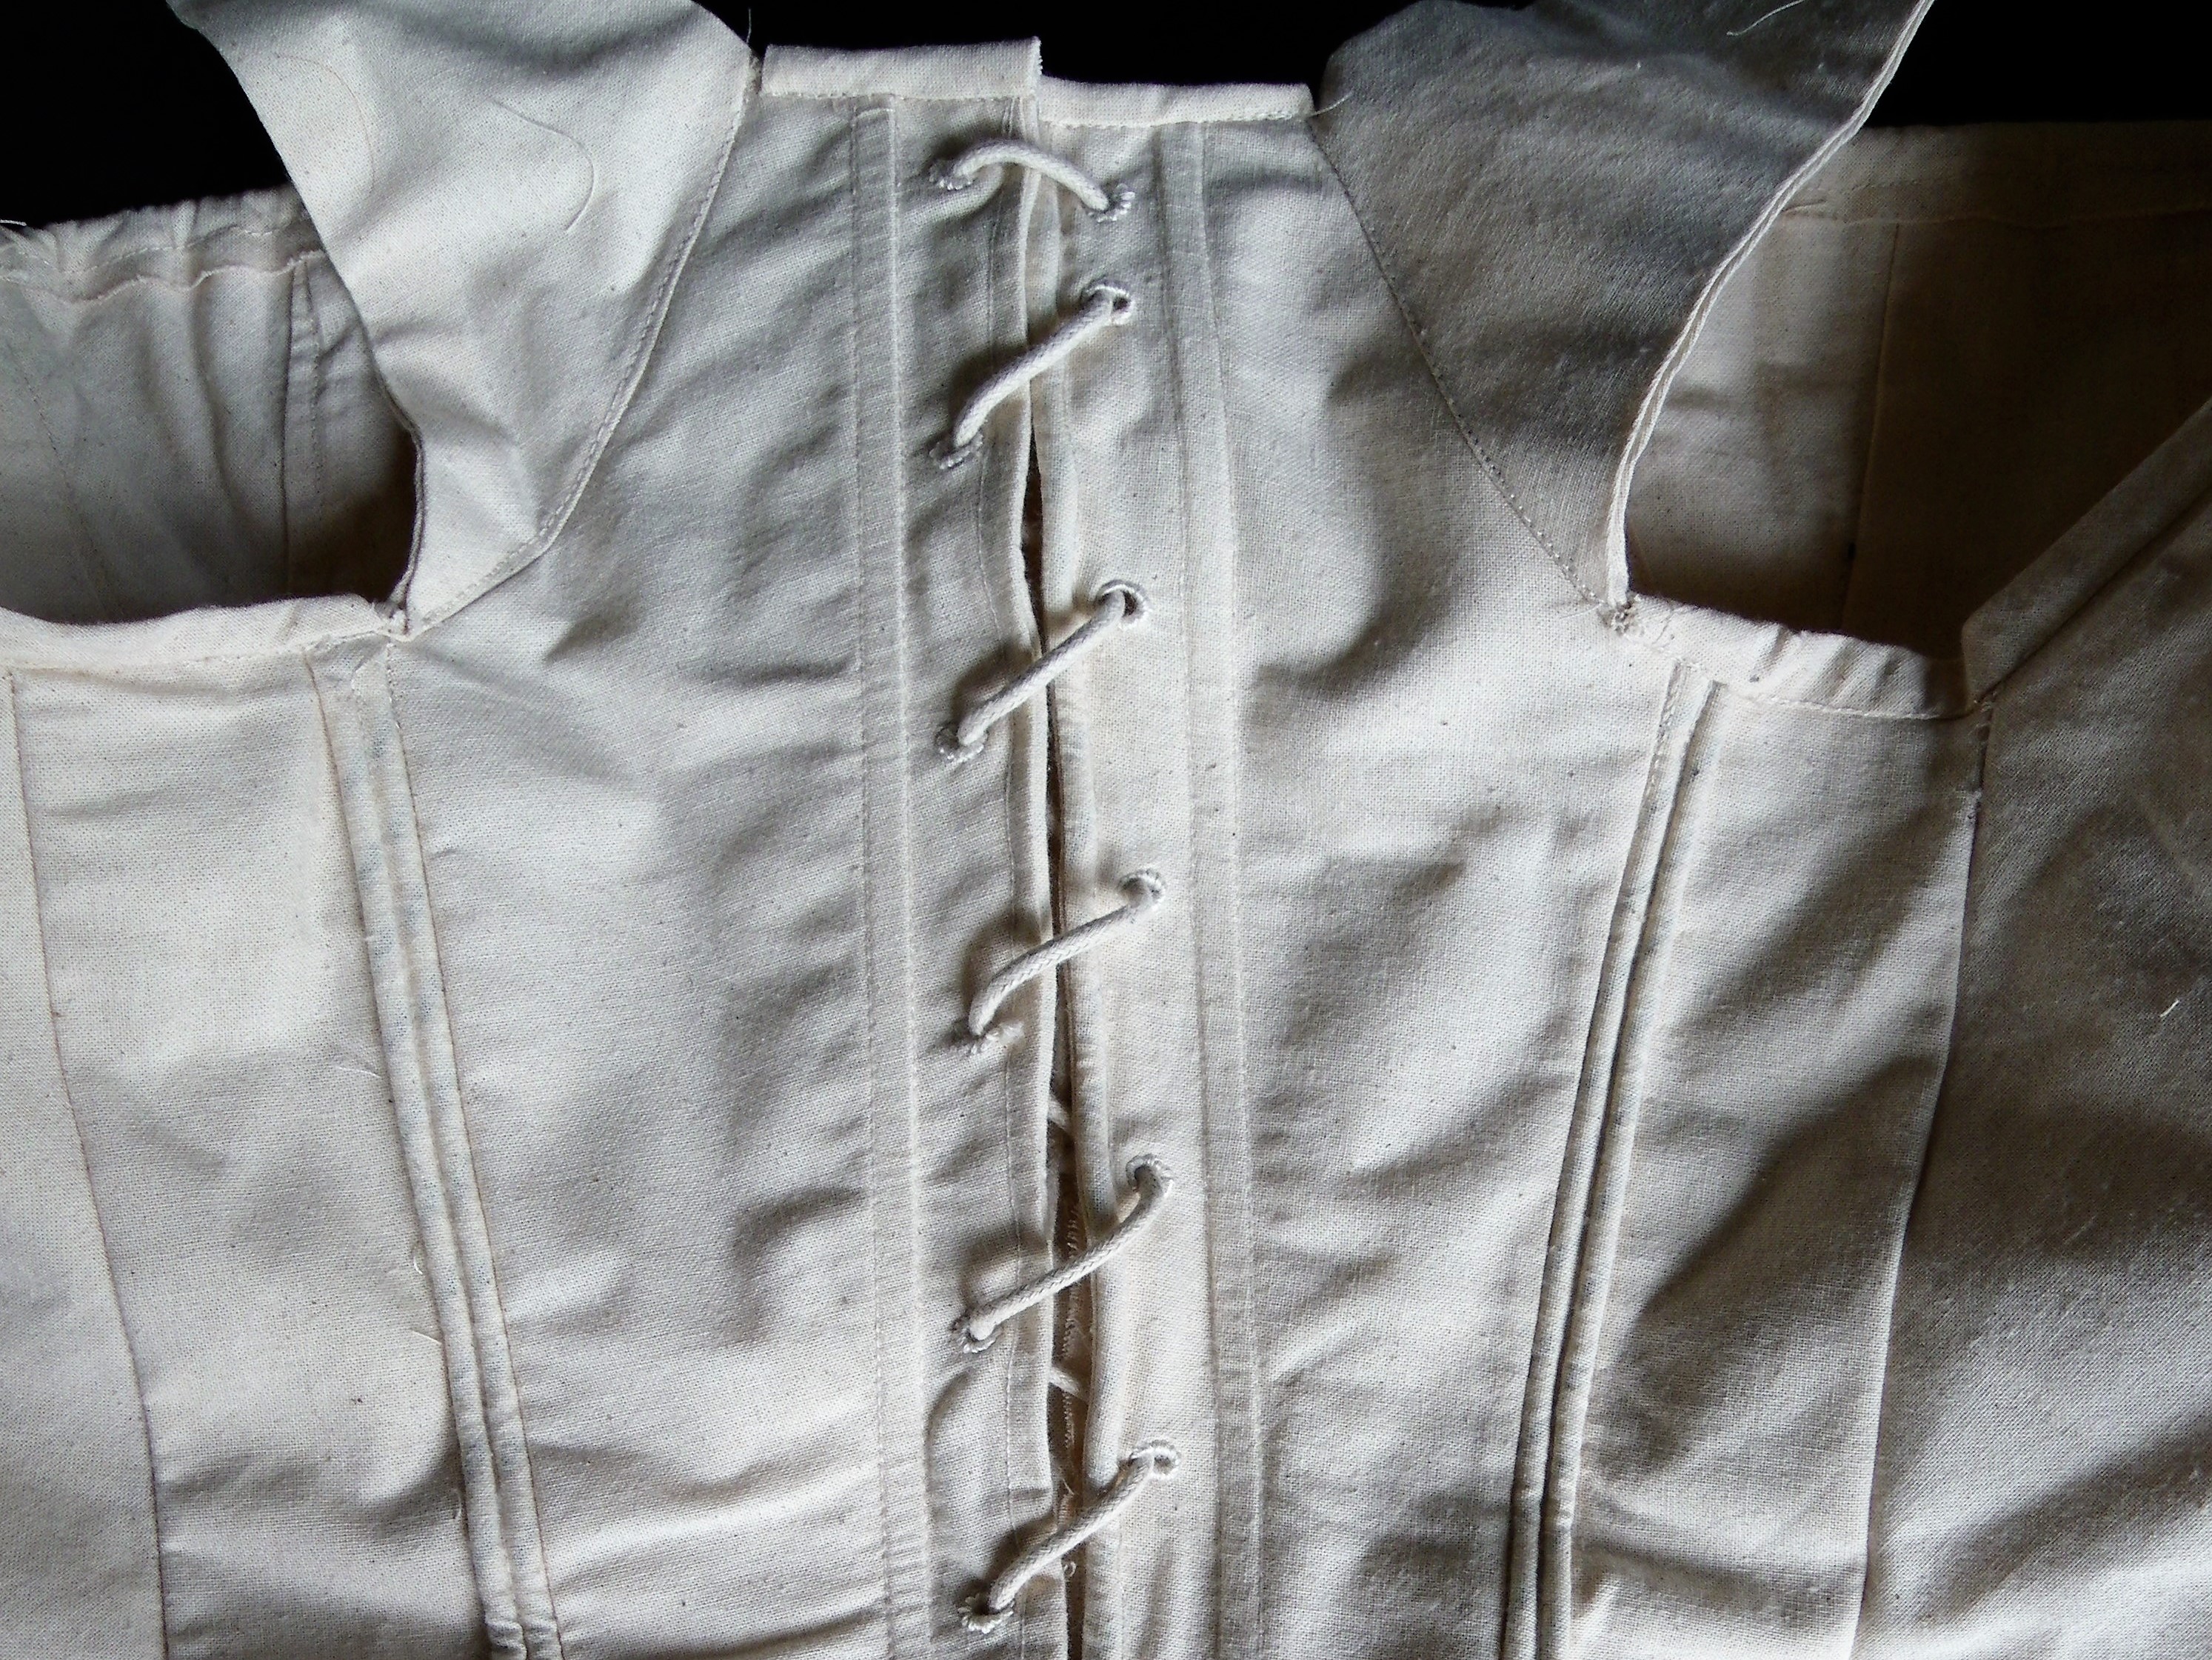
The back of the corset is a regular spiral-lacing down the center back. Initially I found a corset with a different back I wanted to base my design on. This design tied at the two sides of the back as well as the lower back. I assumed this would make it easier to get in and out of the corset by myself, but after a few experiments with this design, I discovered this wasn’t the case. So I redrafted my pattern and made a regular back. It is still the easiest if someone can tie your corset for you (a ladies-maid would be so helpful at this point). But I can manege on my own
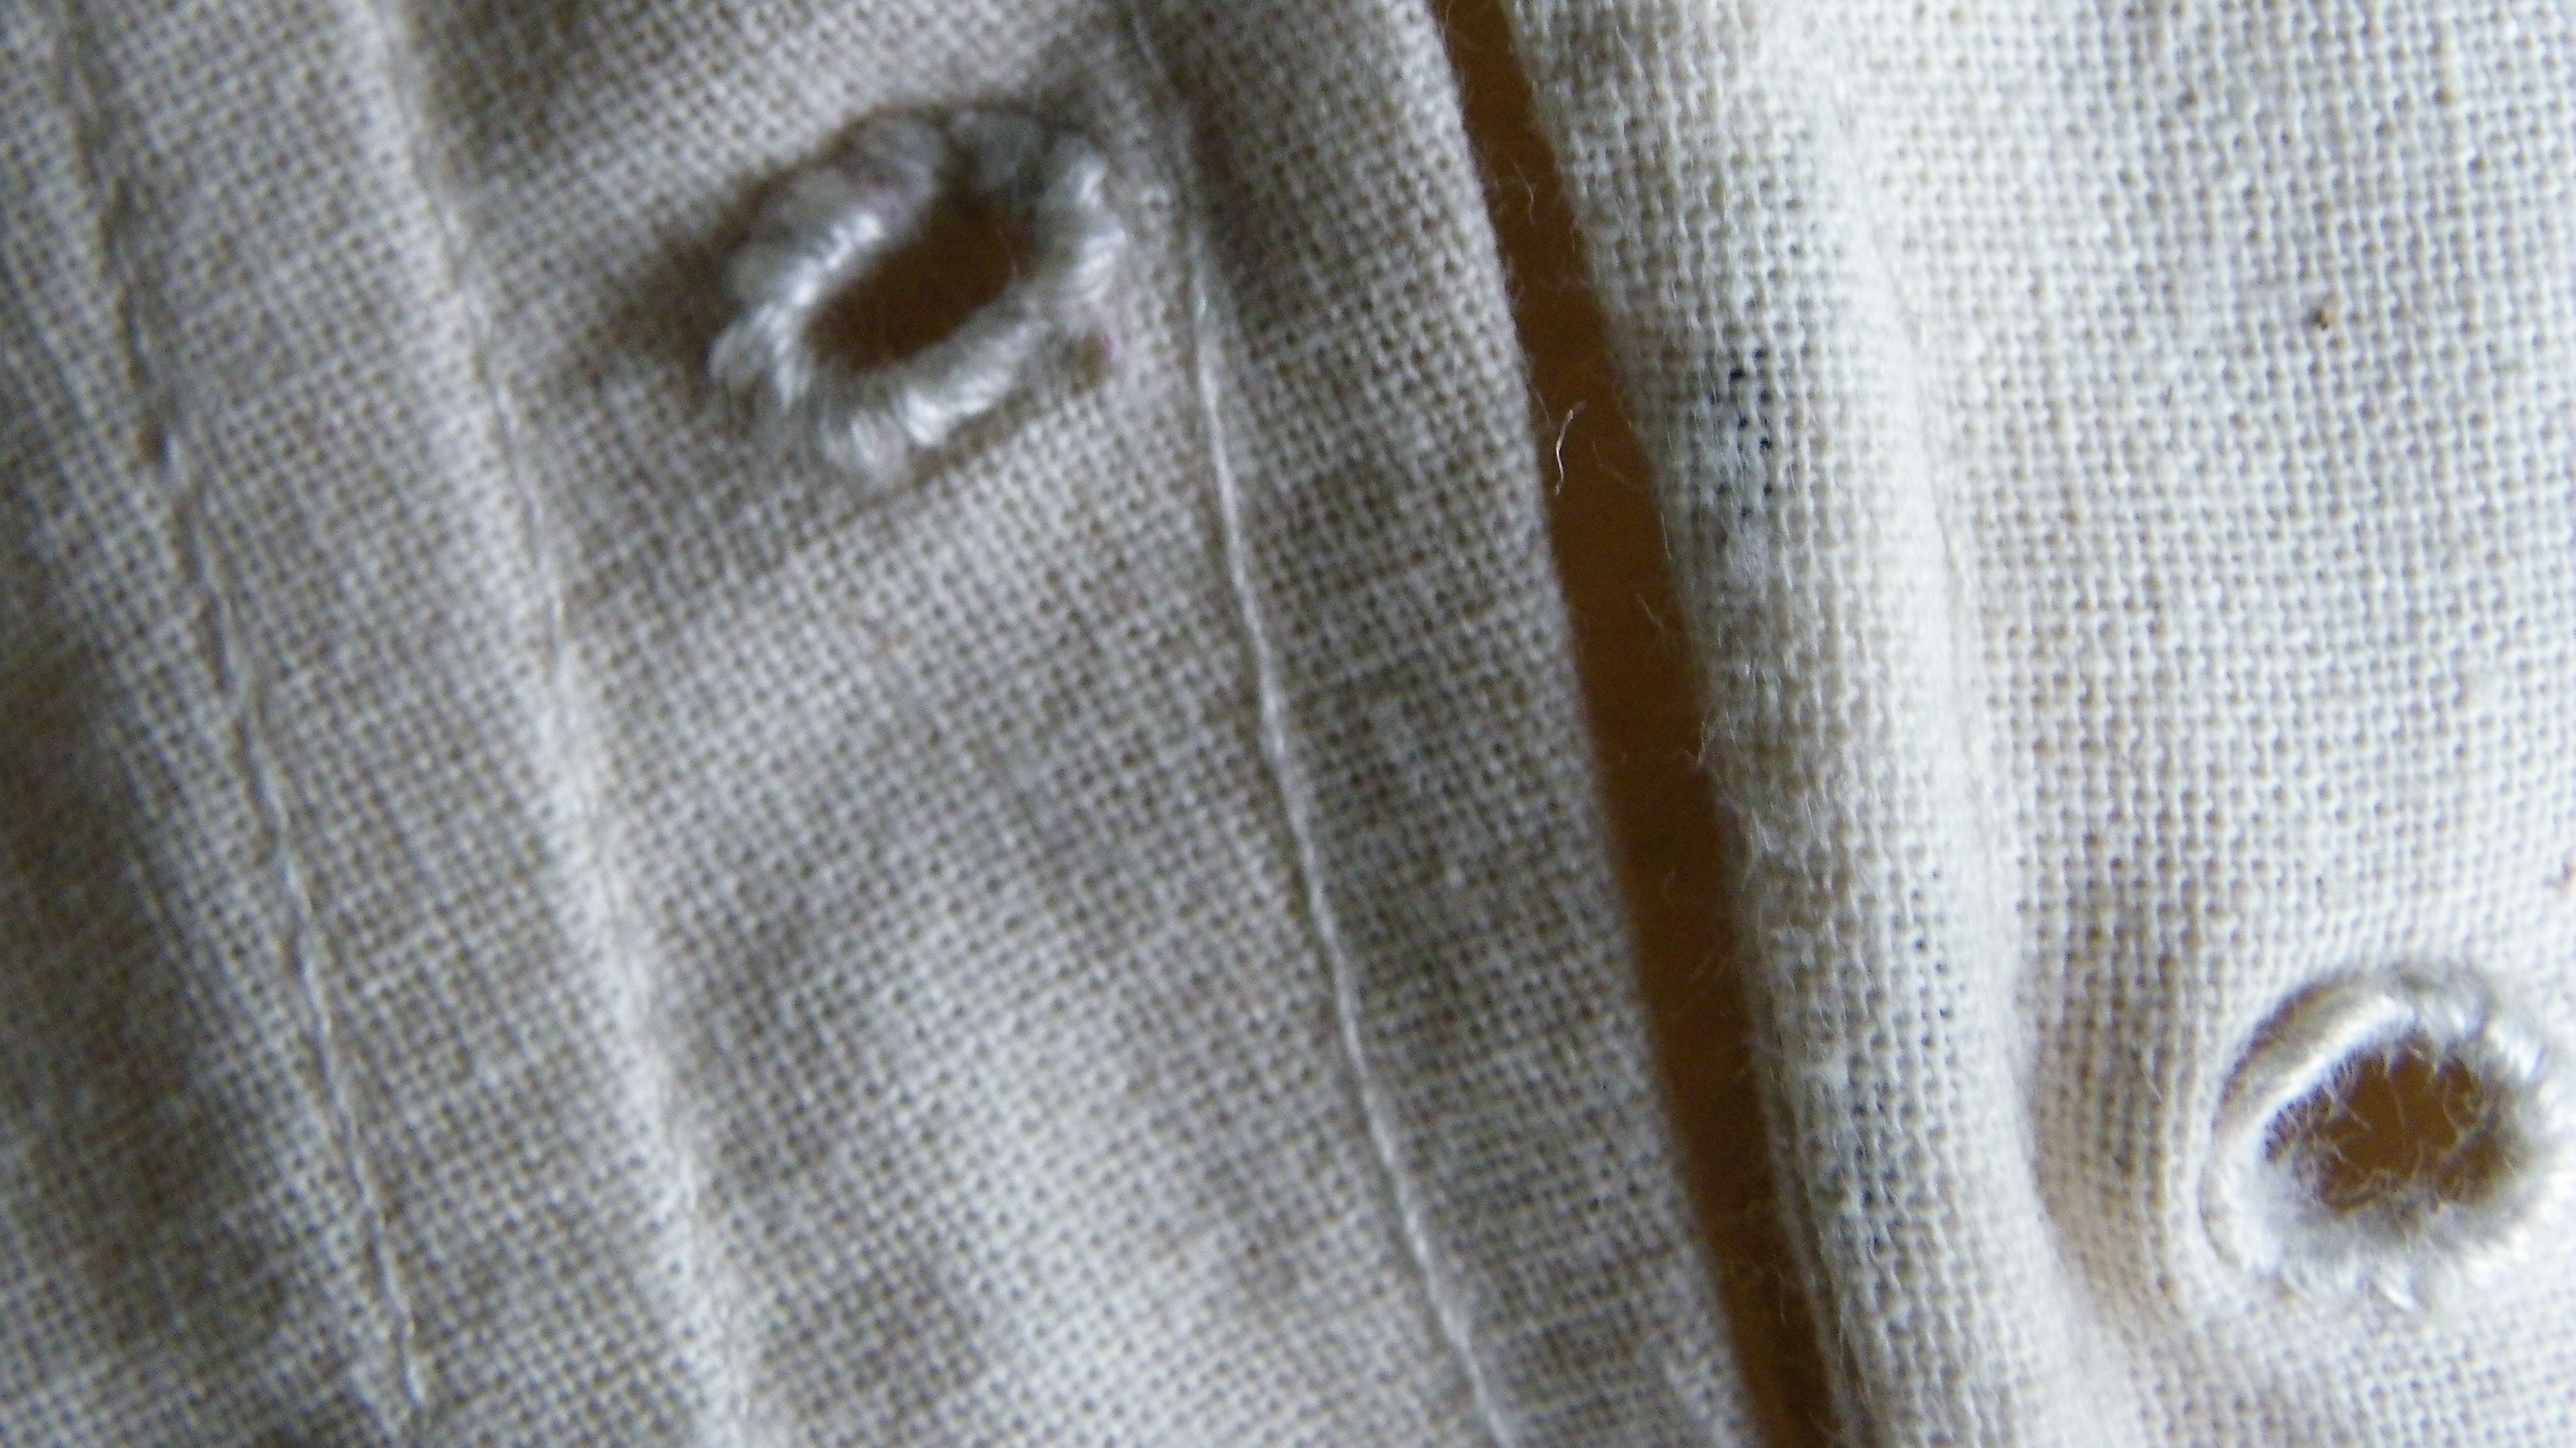
The eyelets in the corset are hand sewn. Metal eyelets were only invented in 1828, so all the eyelets in clothing of this period were hand stitched around the edges to prevent fraying. The eyelets are more prone to warping a bit due to the pressure caused by the laces, but besides that they are very sturdy.
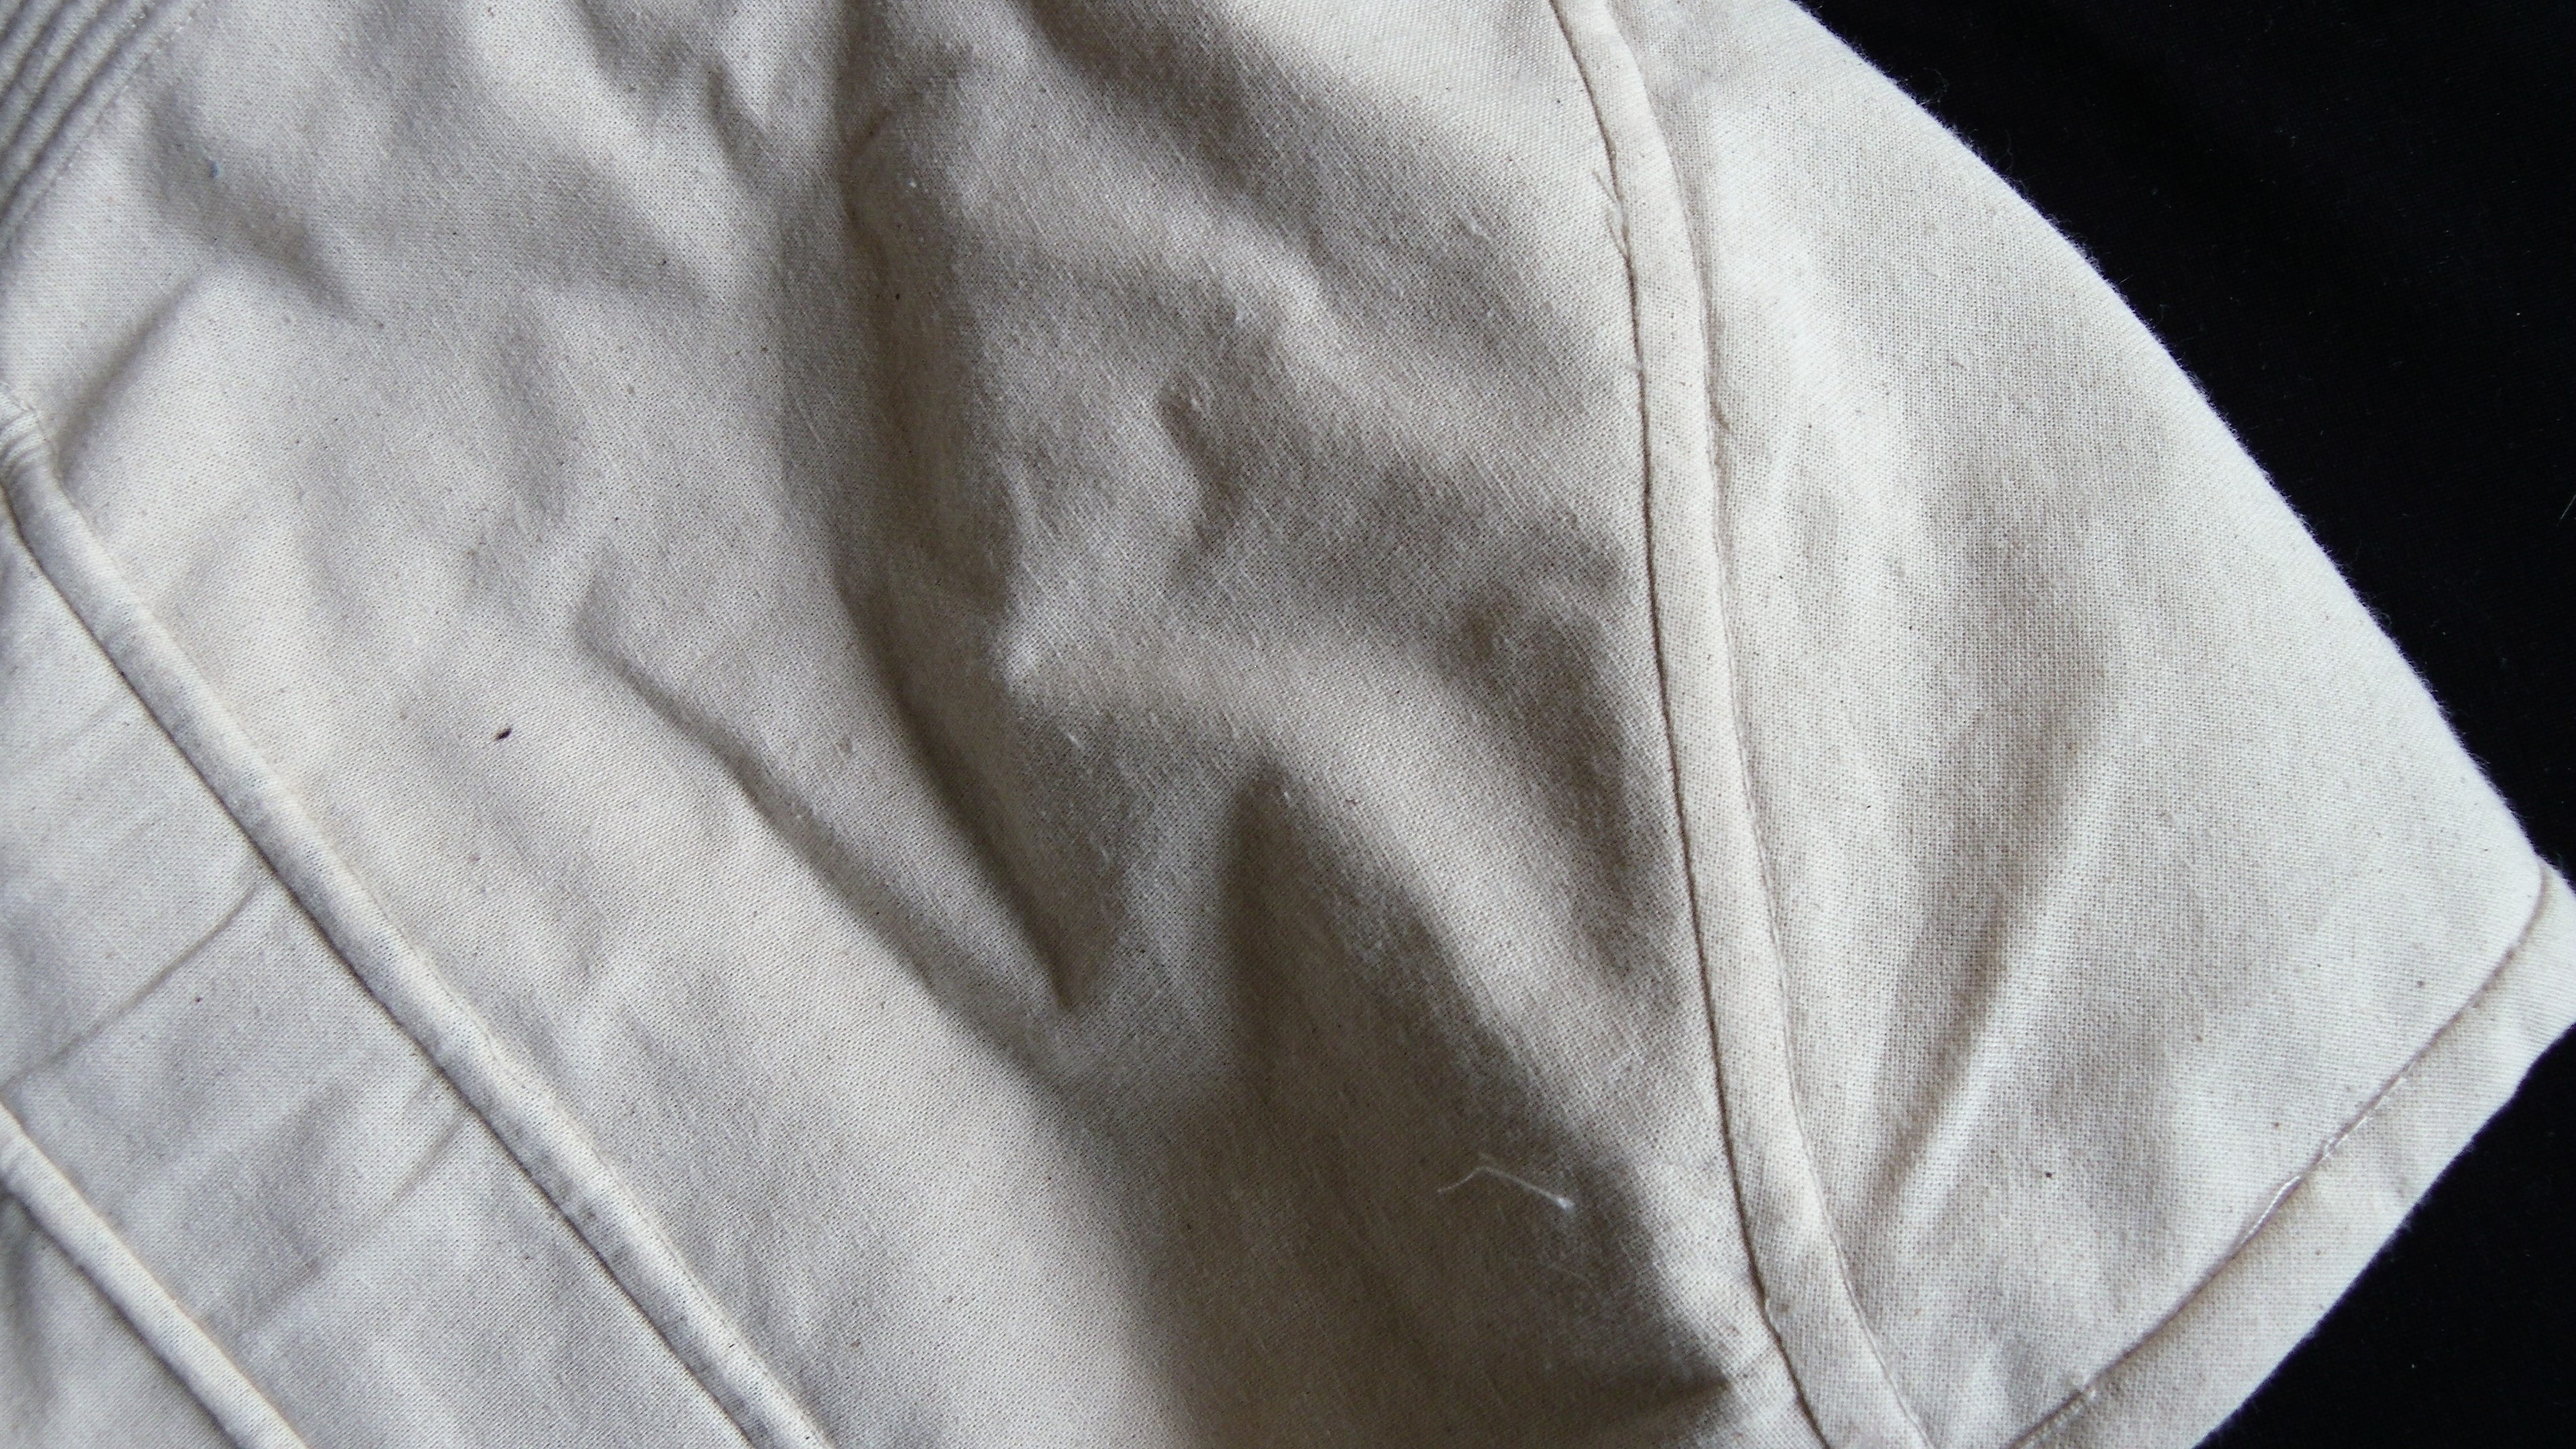
As I mentioned in my last post, corsets of this period were ment to be light and flexible, and a lot less strongly boned than the stays of the century before. Still, there are a few types of bones and techniques used to give the garment structure. At the center front, a separate wooden busk is inserted in a pocket, which is edged by a line of cording on either side. At the side front, a curved spiral bone is inserted. Metal boning was just beginning to make its way into corsetry, and despite not being immediately popular, here it serves a purpose to lightly shape the sides and the belly into a fashionable figure. At the back of the corset, I chose to use a plastic bone to edge the closure. This is not at all historically correct, but plastic is a good replacement for the reed that was used in those days.
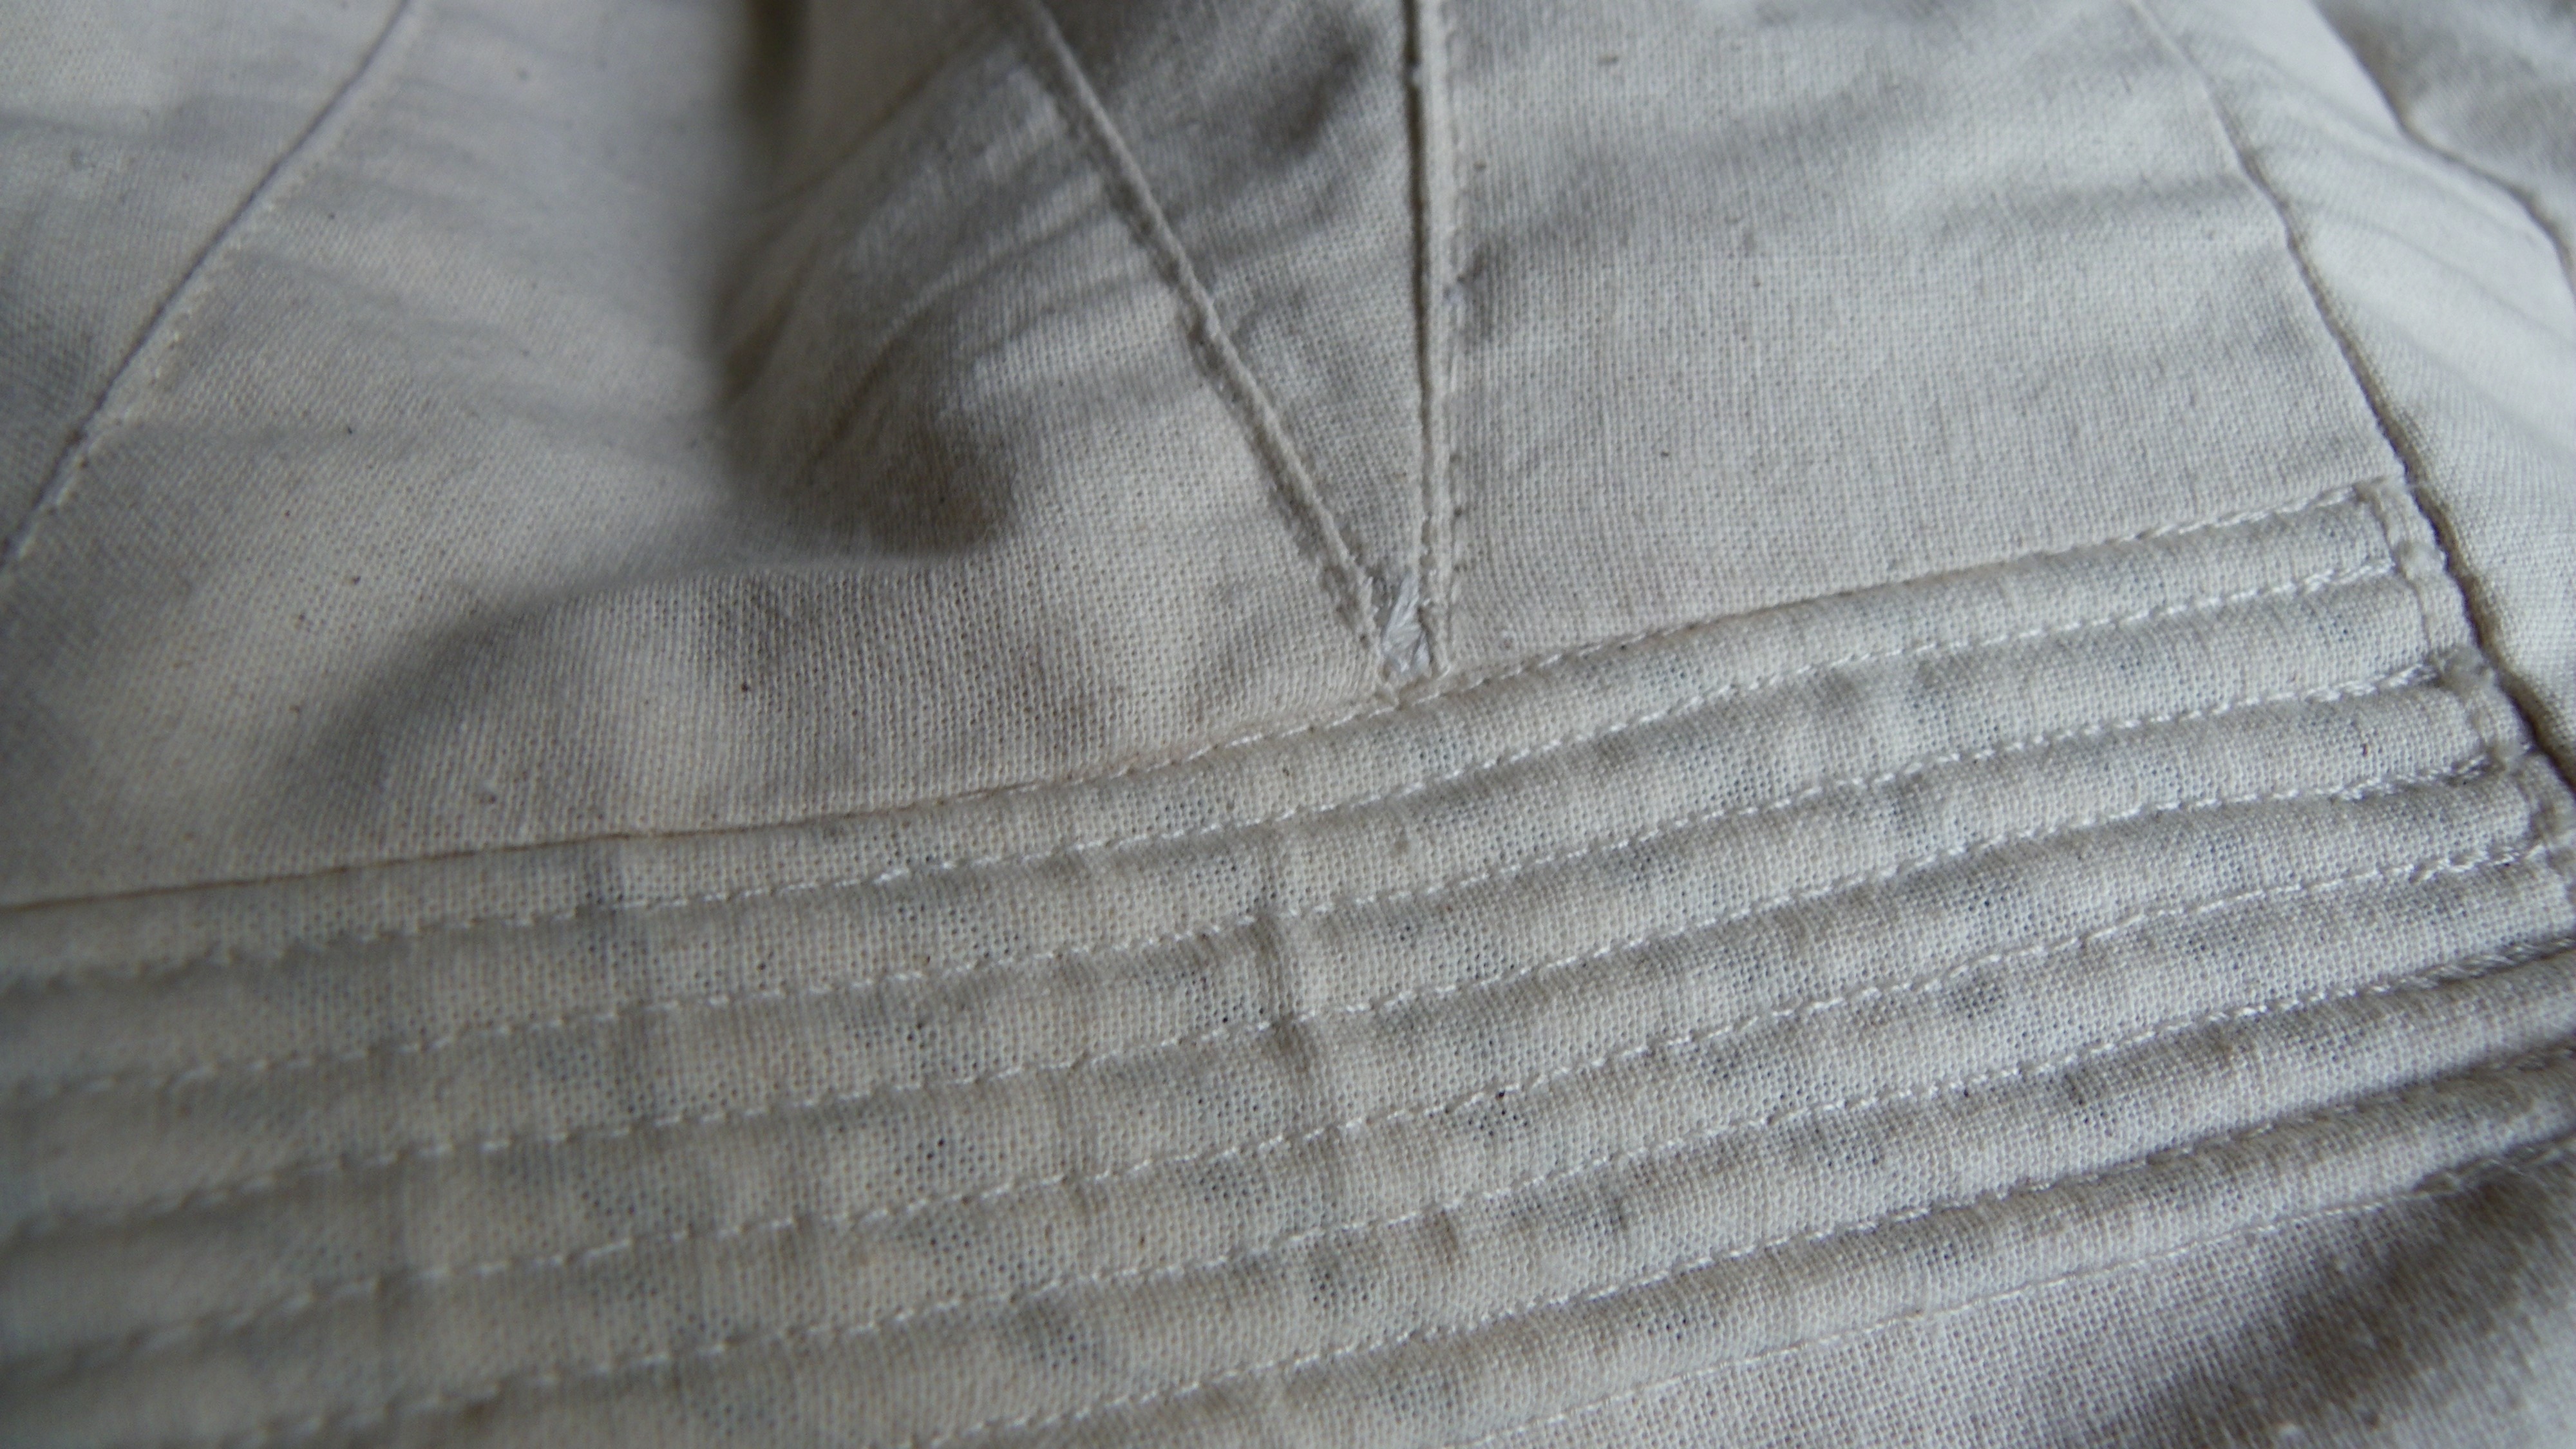
Under the bust is the section with the most cording. The seven lines of cord effectively push up the bust. Before I used this technique I was doubtful as to whether this would be sturdy enough, but cording gives a surprisingly sturdy yet supple shape to the garment. And it is not a difficult technique to master either. You simply make a line of stitching, insert the length of cord, pressing it as close to the stitching as you can, and then use a zipper foot to sew the stitching on the other side of the cord. This is much easier than sewing a tunnel and inserting the cord.
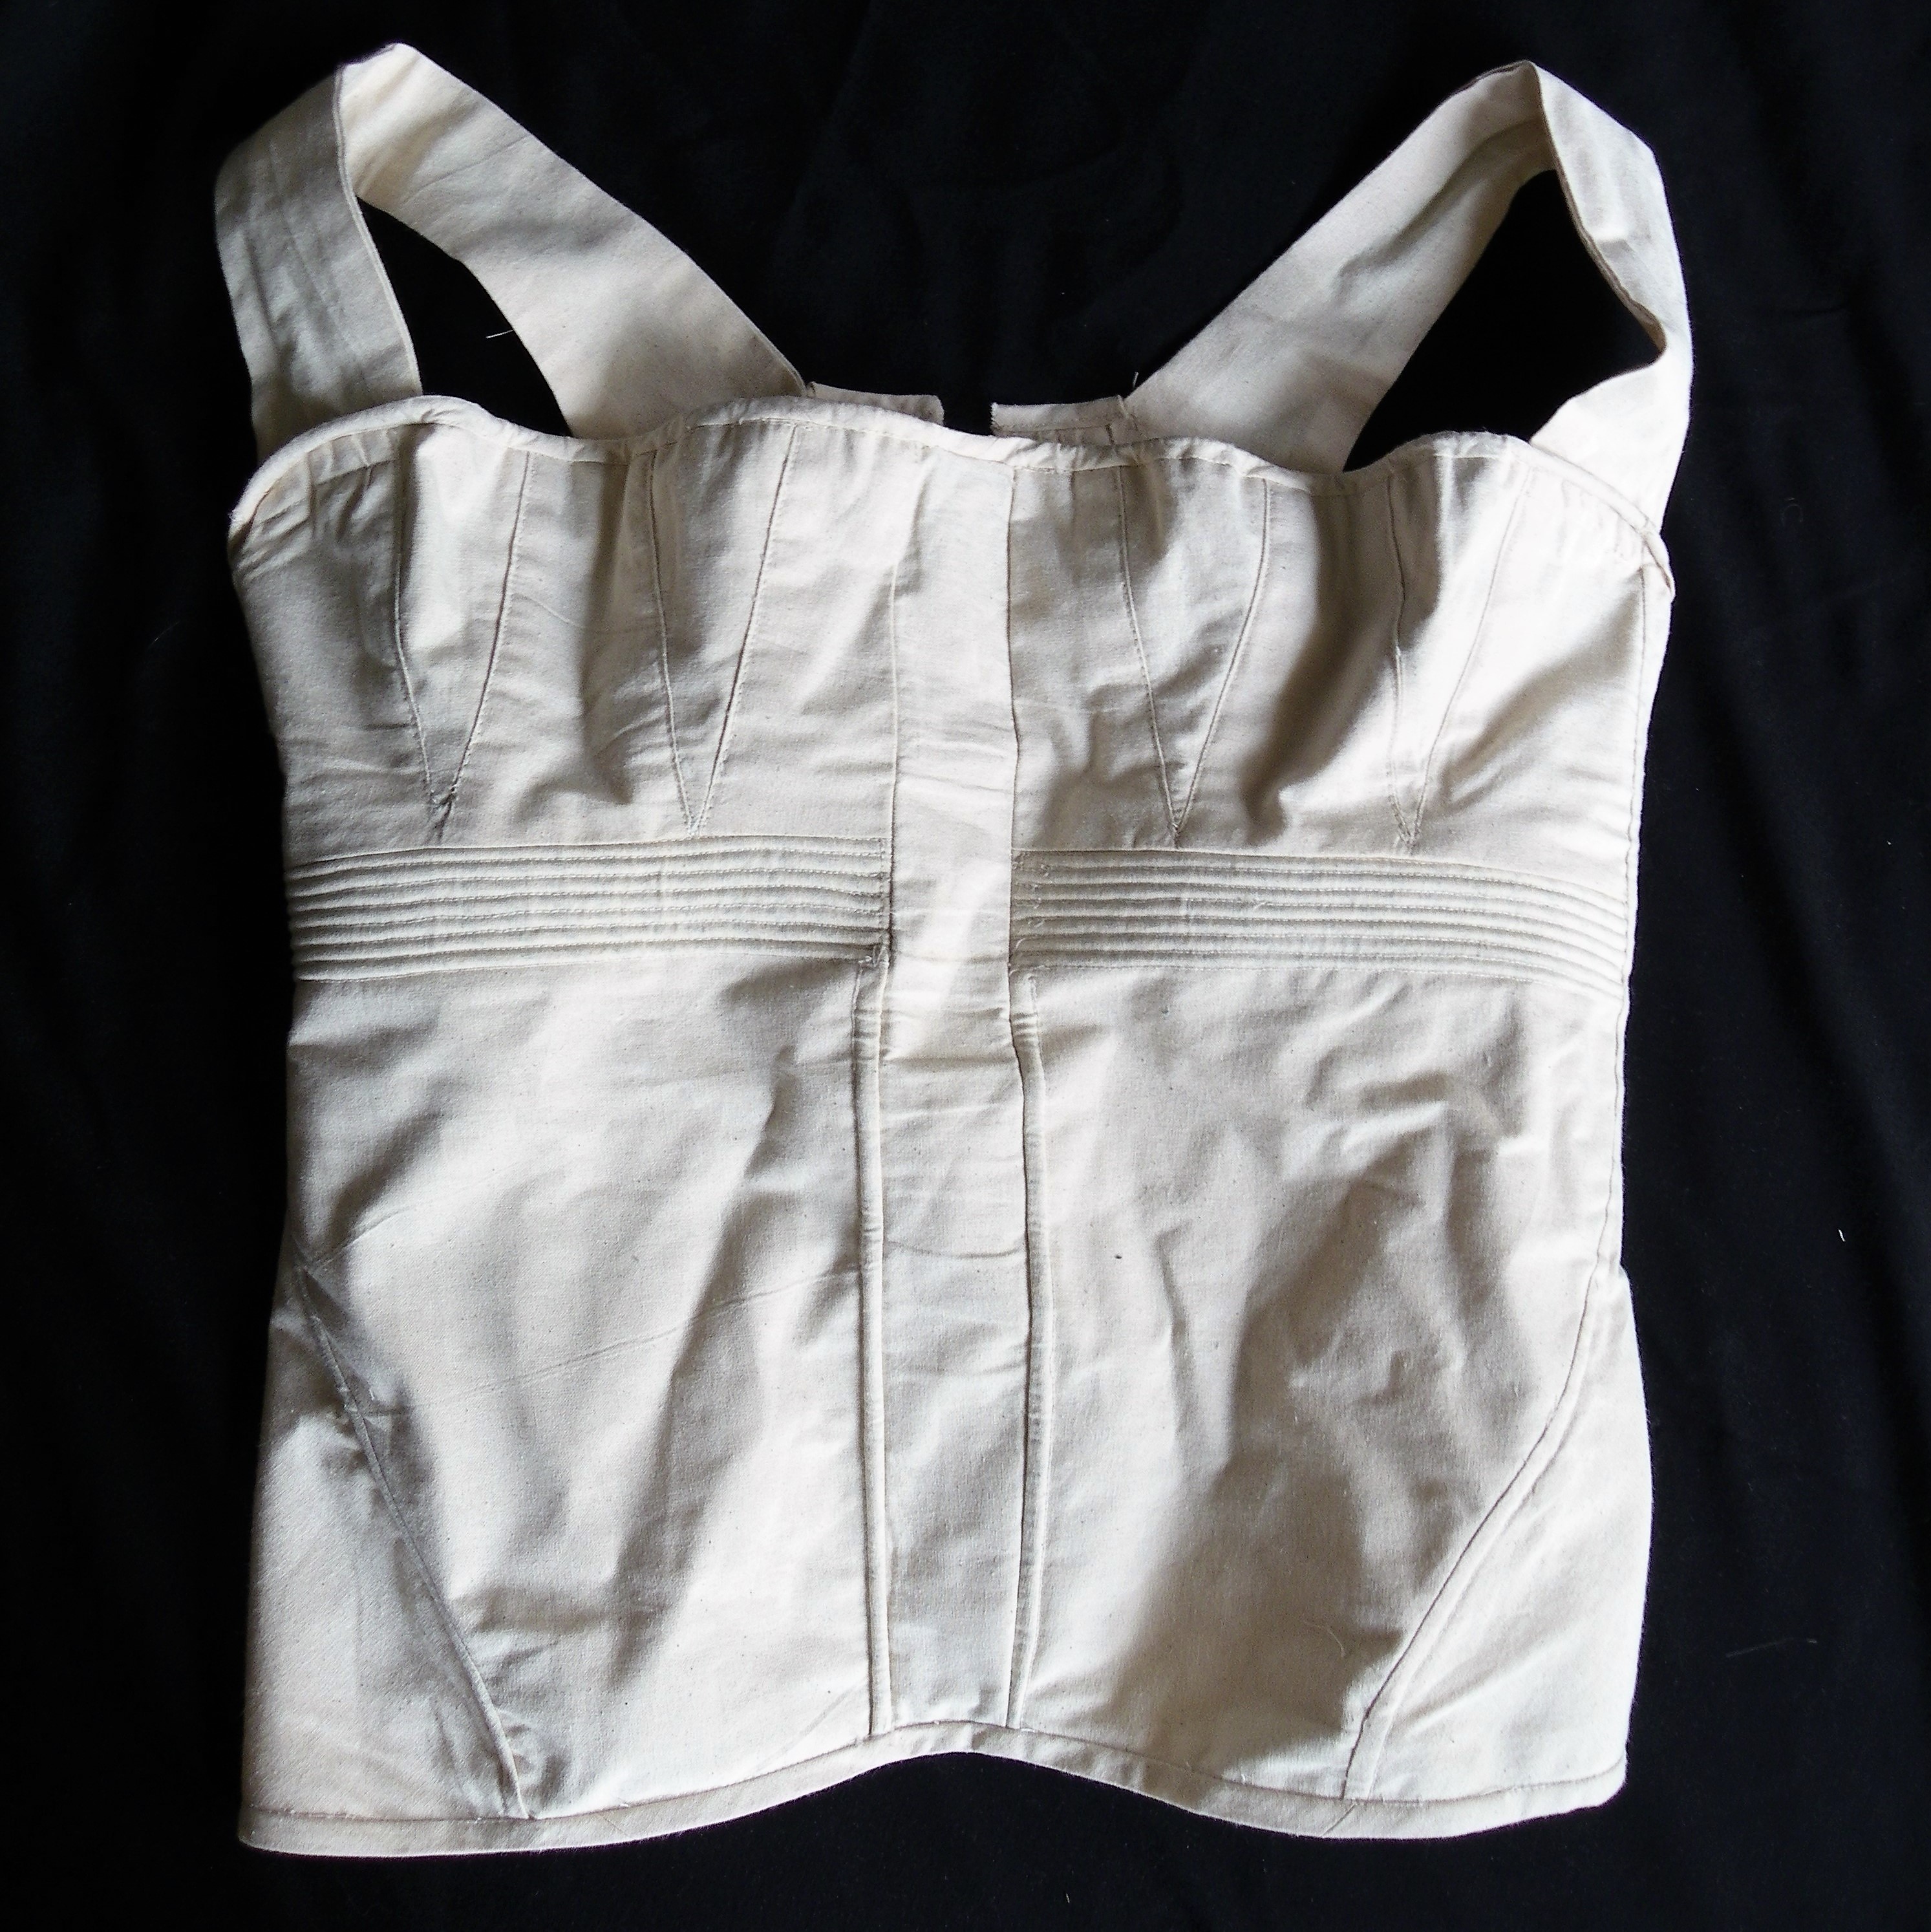
While the corsets of this period are not at all what people imagined when you say “corset” (because it is not the typical Victorian hourglass shape) and this one may look a bit simple, This corset is subtle but effective and gives you the right shape for an empire style gown.
